With Pipeline eSign, send fast, secure, and reliable signature requests. Documents flow smoothly from Paperless Pipeline to your signers and come back automatically, signed and ready to go.
Send secure, reliable signature requests without leaving Paperless Pipeline or interrupting your existing workflow using Pipeline eSign.
Start from a transaction to automatically pull in key details and keep everything tracked in the audit trail. Or use the Reference Library for a quick, flexible option that doesn't need to be tied to a specific transaction.
For each request, add signers, drag fields exactly where they're needed, and insert fields that autofill transaction information to save time and reduce errors. Customize the signing experience by setting a signing order, adding CCs, and including a personal message.
Each eSign request goes out with a secure link and can be signed from any device. Once completed, the signed document is automatically returned to Paperless Pipeline in Unassigned Docs, ready to be assigned like any other doc.
Pick Your Starting Point
Start from a transaction to automatically pull in key details and keep everything tracked in the audit trail. Or use the Reference Library for a quick, flexible option that doesn't need to be tied to a specific transaction.
Choose Docs and Signers
Choose the documents that need to be signed and who needs to sign them. You can select agents, assistants, contacts, or outside parties, whatever the deal calls for.
Each signature request can contain any number of docs, signers, and signatures.
Place the Fields
Choose what information should be displayed on the doc and what the signer needs to enter.
Let the system fill in important details from the transaction to save time and avoid mistakes.
Send with Confidence
Set a signing order if needed, add CCs, and include a personal message. After you click send, Pipeline takes care of the rest.
A Smooth Signing Experience
Signers get a secure link with just the fields they need to fill out. It's a smooth, straightforward experience that works on any device.
Get Signed Docs Back Instantly
Once all parties have signed, the signed document is automatically returned to Paperless Pipeline in Unassigned Docs, ready to be assigned like any other doc.
Send a signature request from the Reference Library to request a signature that isn't tied to a specific transaction.
Who Can Do This: Anyone whose company is subscribed to Pipeline eSign.
To send a signature request from the Reference Library:
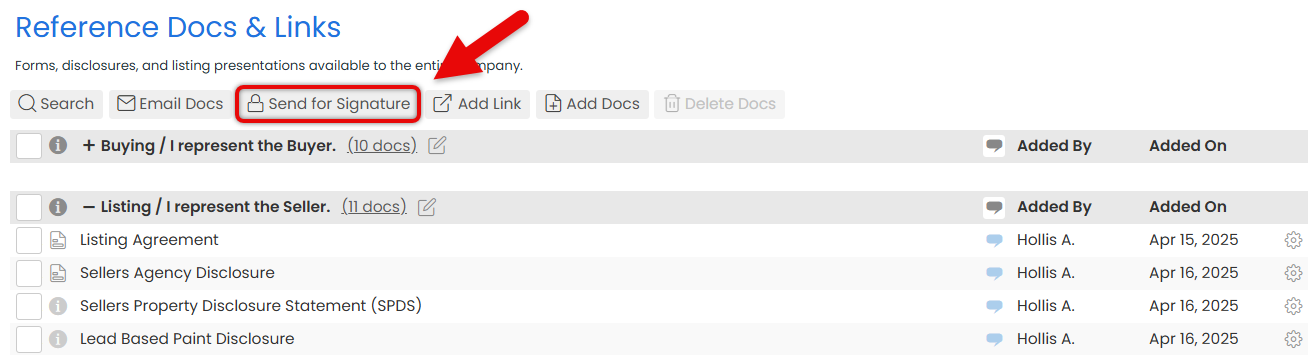
- Go to Your Reference Library
- Click [Reference] from the top menu.
- Start the Signature Request
- Click [Send for Signature] at the top of the page.
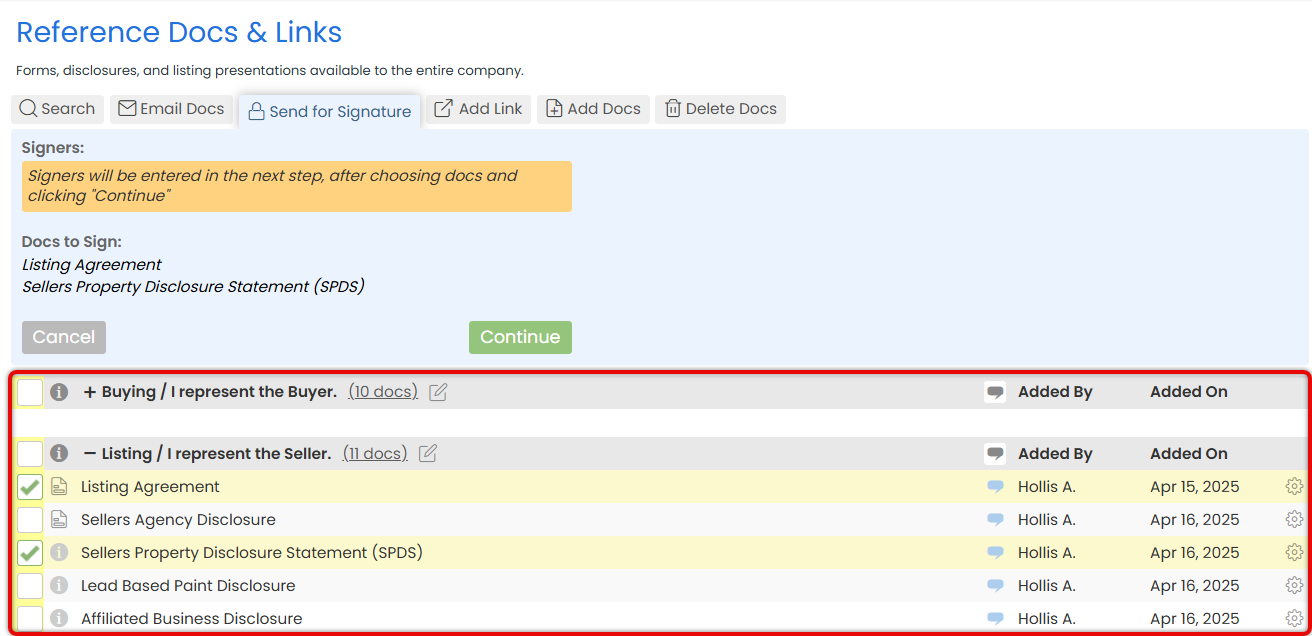
- Select Docs to be Signed
- Check boxes next to the docs you want to include in the request.
- Click [Continue] to start preparing the request.
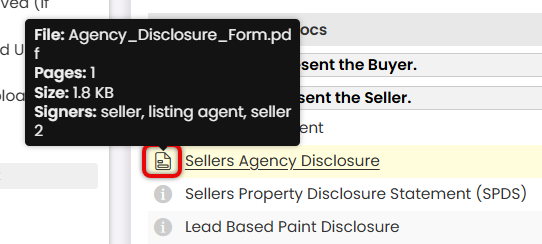
If a doc in your Reference Library has a form, you'll see a form icon in the "i" column. Hover over it to instantly view document information, including signers and page count.
- Place Fields for the First Party
- If you're using a Form, confirm the prefilled details and place any additional fields needed.
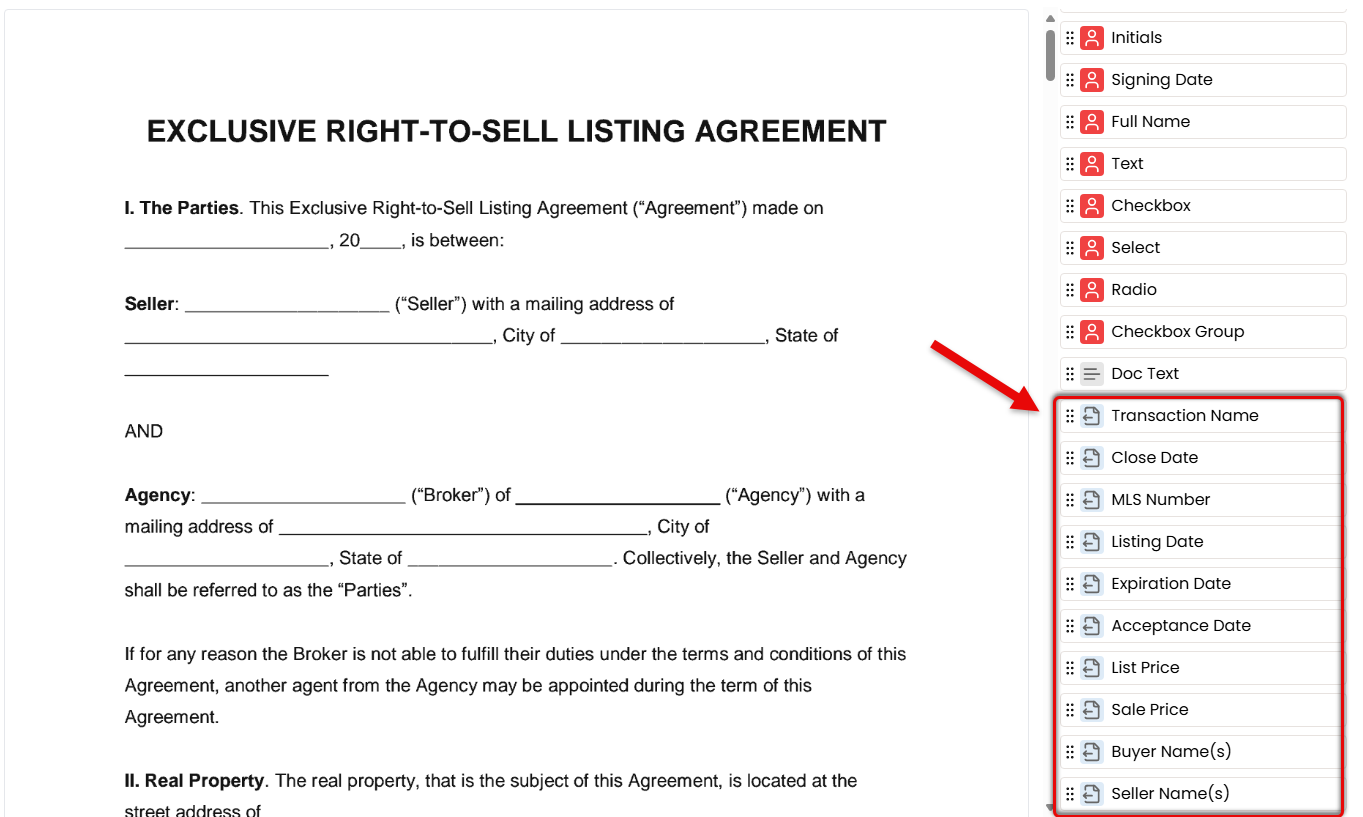
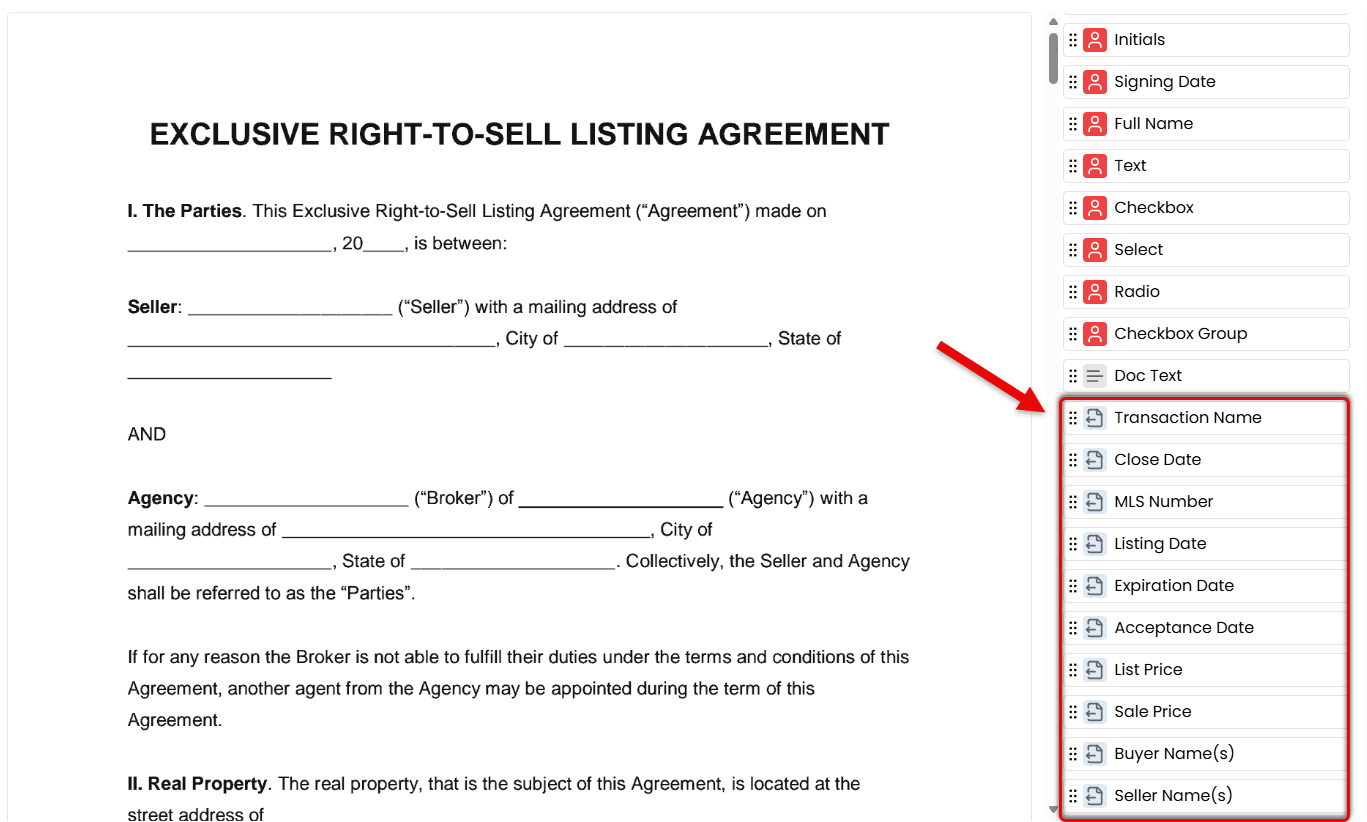
- Drag the necessary fields onto the doc from the Fields section on the right (outlined below).
Need to pause? You can save your request as a draft at any time — just click [Save as Draft] in the upper right corner while editing. Learn more.Transaction Info
Insert Transaction Info fields for deal-specific details like Transaction Name, Listing Date, and Buyer Name(s).
Want Transaction Info fields to autofill? Send the request from a transaction instead.
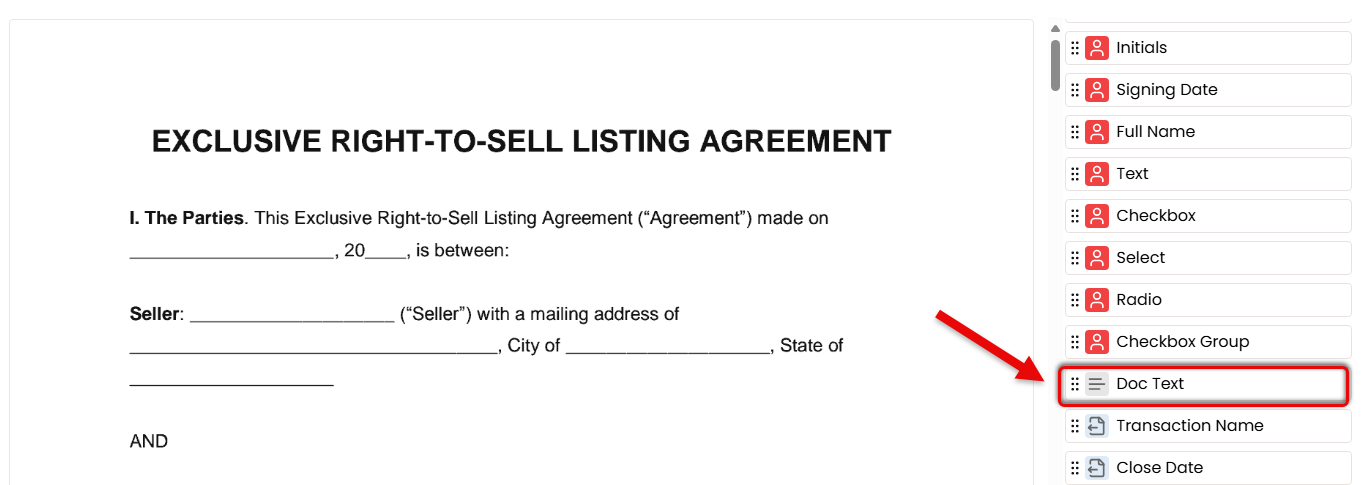
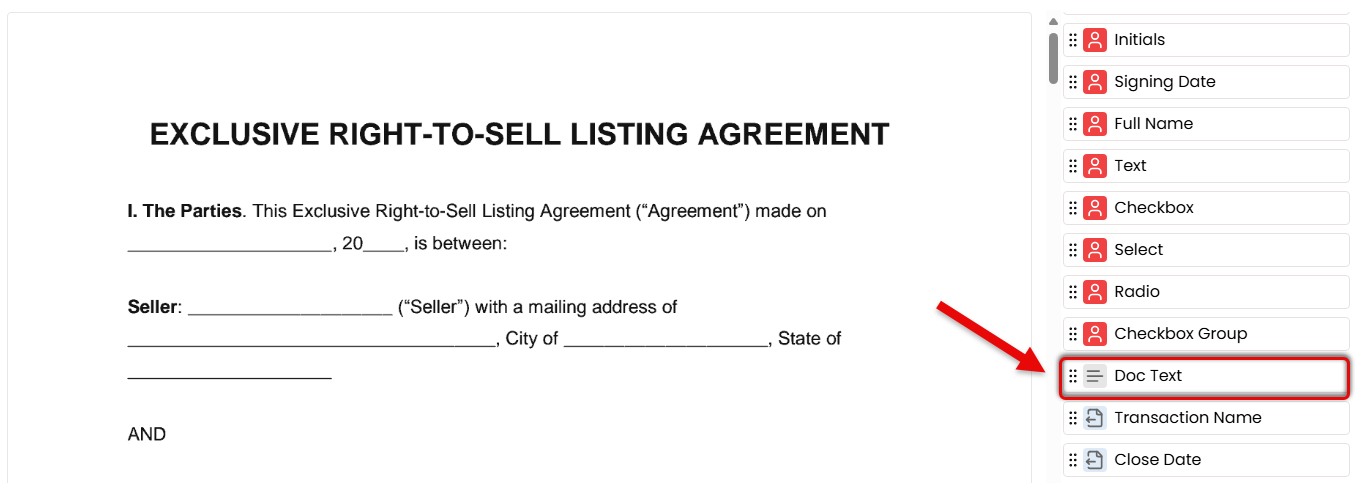
Document Text
Insert Document Text to fill in any standard details you're responsible for entering, such as disclaimers or other required text.
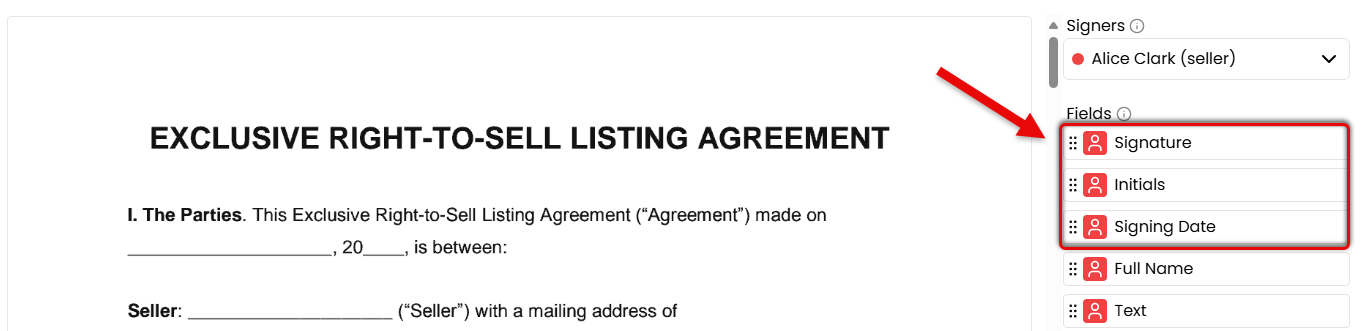
Signer Fields
Insert fields the signer is responsible for completing: Signature, Initials, and Signing Date.

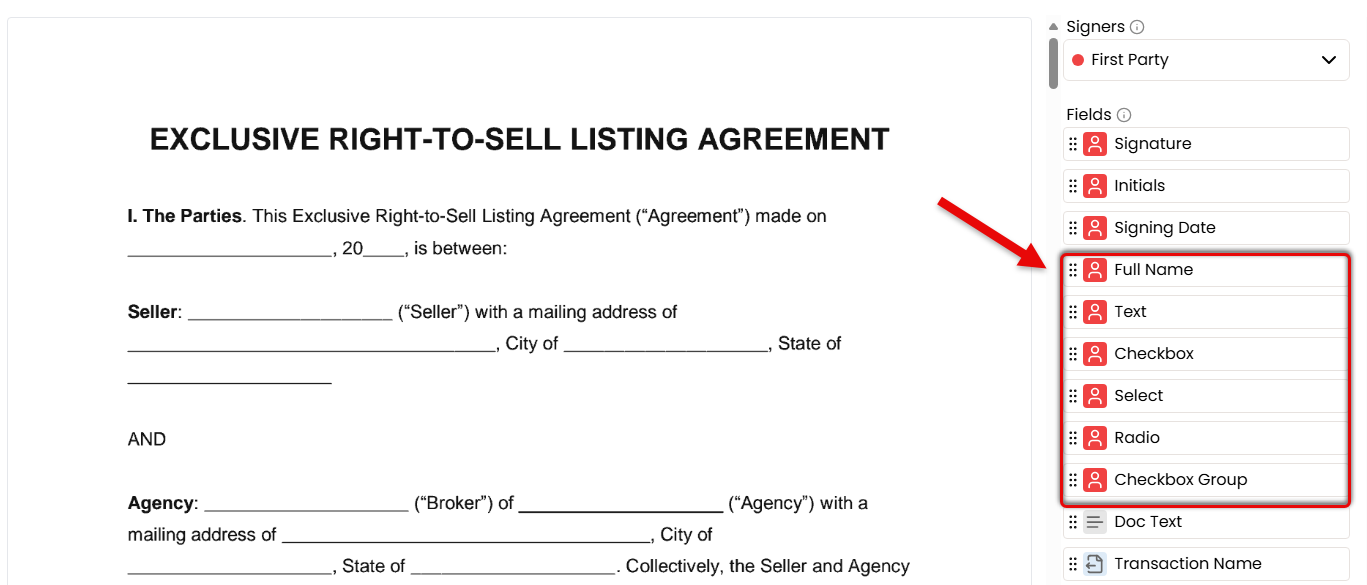
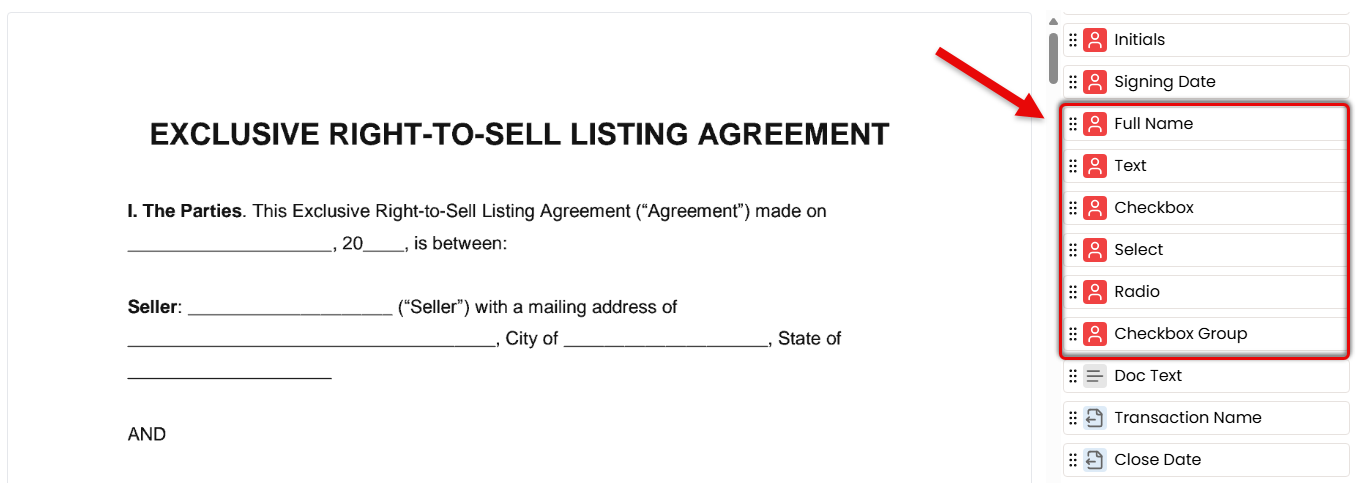
Flexible Fields
Insert flexible fields that can be completed by either the sender or signer, depending on who has the information.
- Add Full Name to automatically pull the signer's details directly from the transaction.
- Add a Text field when you need a flexible space that either the sender or signer can fill in with custom information.
- Add a Checkbox field whenever it will be needed on the form.
- Add a Select, Radio, or Checkbox Group to offer predefined choices.
Copy and paste your first option for easy placement of subsequent options.
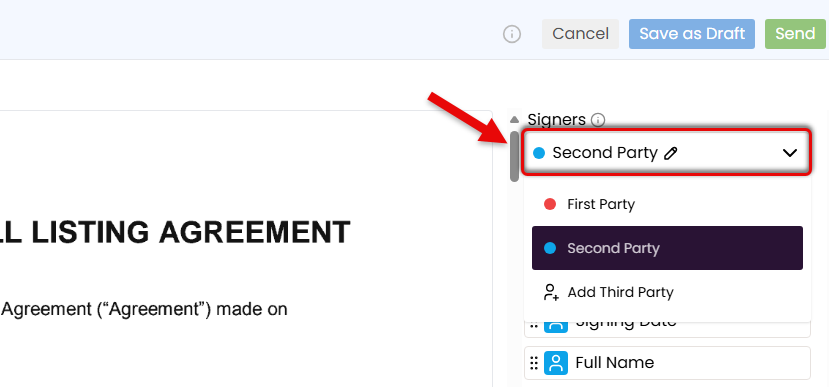
- Repeat for Additional Signers
- Use the Signers dropdown to add and select additional signers, one at a time.
- Place only the fields that apply to the selected signer.
- Confirm & Customize Request
- Once ready, click [Send] in the upper right corner.
- Optionally, customize the signing flow, include non-signers, or add a personal message (outlined below).
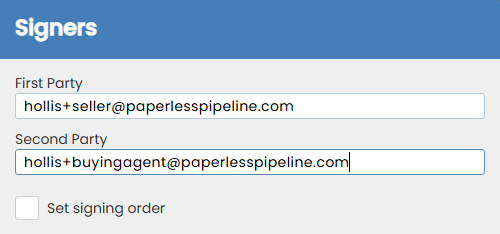
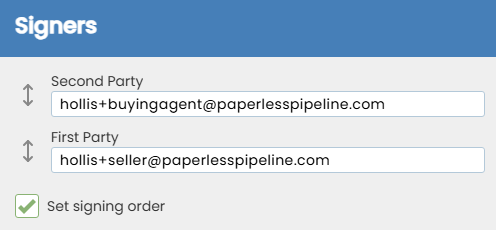
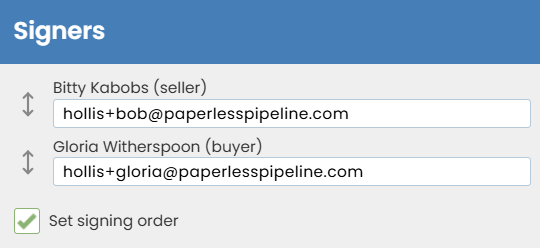
Add Signers Email
Enter the email address for each signer as First Party, Second Party, and so on.
Signing Order
If signers need to complete the request in a specific order, check the option to [Set Signing Order] and drag signers into the correct sequence.
Subject
Customize the email subject to reflect the docs to be signed, or leave it as is.

CC
If anyone who isn't signing needs to receive a copy of the signed doc, enter their email address(es).

Message
Add a short note or instructions to appear in the body of the email your recipients receive.
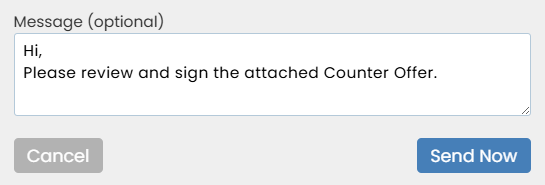
- Send the Request
- Click [Send Request]. Signers will receive an email with a secure link to review and sign from any device.
- When all signatures are complete, a final copy will be automatically returned to Pipeline in Unassigned Docs. A final copy will also be emailed to you and all recipients.


Send a signature request directly from a transaction to choose signers effortlessly, have transaction details autofilled, and keep everything tracked in the transaction's audit trail.
Who Can Do This: Anyone whose company is subscribed to Pipeline eSign.
To send a signature request from a transaction:
- Go to the Transaction
- Open the transaction where you need to take action.
- Start the Signature Request
- Click [Send for Signature] from the action bar on the transaction.
- Select Signers
- Check boxes next to people who need to sign from the
Agents or Contacts area.

- Check boxes next to people who need to sign from the
Agents or Contacts area.
- Select Docs to be Signed
- Check boxes next to the docs you want to include in the request. Choose from the list of transaction documents or Reference Docs.
- Click [Continue] to initiate the request.
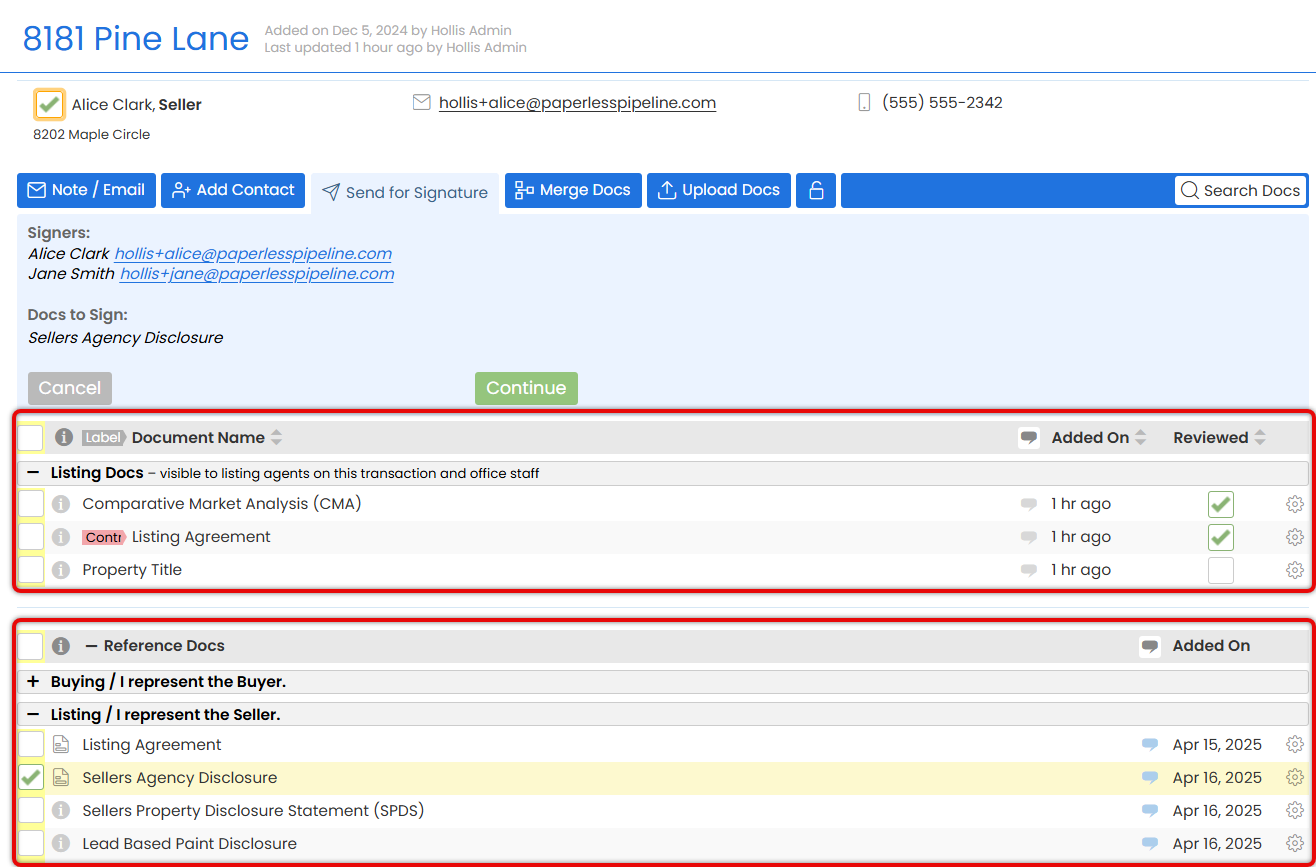
If a doc in your Reference Library has a form, you'll see a form icon in the "i" column. Hover over it to instantly view document information, including signers and page count.

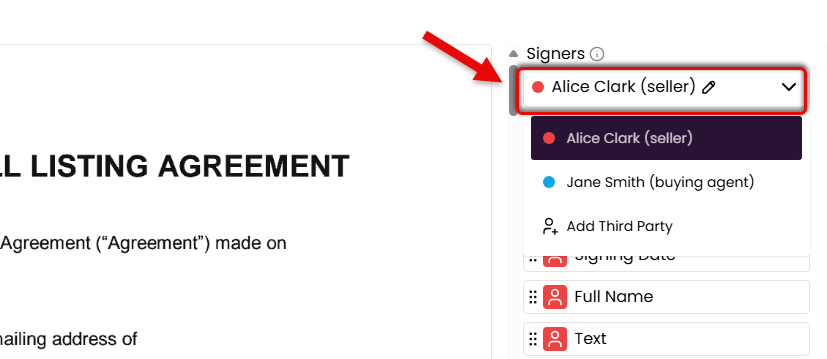
- Select a Signer
- Choose the first person who will sign using the Signers dropdown in the right menu.
- Choose the first person who will sign using the Signers dropdown in the right menu.
- Place Fields for the Signer
- If you're sending a Form, confirm the fields that have already been placed. If needed, make any necessary adjustments.
- Drag the necessary fields onto the doc from the Fields section on the right (outlined below).
Need to pause? You can save your request as a draft at any time — just click [Save as Draft] in the upper right corner while editing. Learn more.Autofilled Transaction Info
Insert Transaction Info fields to automatically pull key details directly from the transaction, like Transaction Name, Listing Date, and Buyer Name(s).
Document Text
Insert Document Text to fill in any standard details you're responsible for entering, such as disclaimers or other required text.
Signer Fields
Insert fields the signer is responsible for completing: Signature, Initials, and Signing Date.
Flexible Fields
Insert flexible fields that can be completed by either the sender or signer, depending on who has the information.
- Add Full Name to automatically pull the signer's details directly from the transaction.
- Add a Text field when you need a flexible space that either the sender or signer can fill in with custom information.
- Add a Checkbox field whenever it will be needed on the form.
- Add a Select, Radio, or Checkbox Group to offer predefined choices.
Copy and paste your first option for easy placement of subsequent options.
- Repeat for Additional Signers
- Use the Signers dropdown to add and select additional signers, one at a time.
- Place only the fields that apply to the selected signer.
- Confirm & Customize Request
- Once ready, click [Send] in the upper right corner.
- Optionally, customize the signing flow, include non-signers, or add a personal message (outlined below).
Signing Order
If signers need to complete the request in a specific order, check the option to [Set Signing Order] and drag signers into the correct sequence.
Subject
Customize the email subject to reflect the docs to be signed, or leave it as is.
CC
If anyone who isn't signing needs to receive a copy of the signed doc, enter their email address(es).
Message
Add a short note or instructions to appear in the body of the email your recipients receive.
- Send the Request
- Click [Send Request]. Signers will get a secure link to review and sign from any device.
- When all signatures are complete, a final copy will be emailed to you and all recipients. It will also be automatically added to Unassigned Docs, ready to assign like any other doc.

Manage Your eSign Requests
Manage every eSign request you've sent from one central place. Track progress, send reminders, cancel requests, and more.
Learn how to Manage Your eSign Requests
Manage Company-Wide eSign Requests
Manage all eSign requests sent by your team. Admins can track progress, send reminders, cancel requests, and take action when needed.
Learn how to Manage Company-Wide eSign Requests