Briefly explain the main action and benefit to provide an action-oriented summary that highlights what you can do and the benefits you will gain.
Through the Long Introduction, the reader will get a detailed overview of the topic, starting with a description of the feature or function. It aims to give a comprehensive understanding of what to expect and how it works.
The Long Introduction provides an in-depth explanation of the benefits and how it helps the user. It highlights the advantages and practical applications, making it clear why this feature is valuable. Sentences are kept concise and maintain a conversational tone, making the information easy to understand and follow.
By providing this detailed overview, users gain a better grasp of the topic, enabling them to fully leverage the feature's capabilities and benefits for their needs.
Zapier offers several different plan options starting at a limited Free level. Review Zapier plans and pricing →
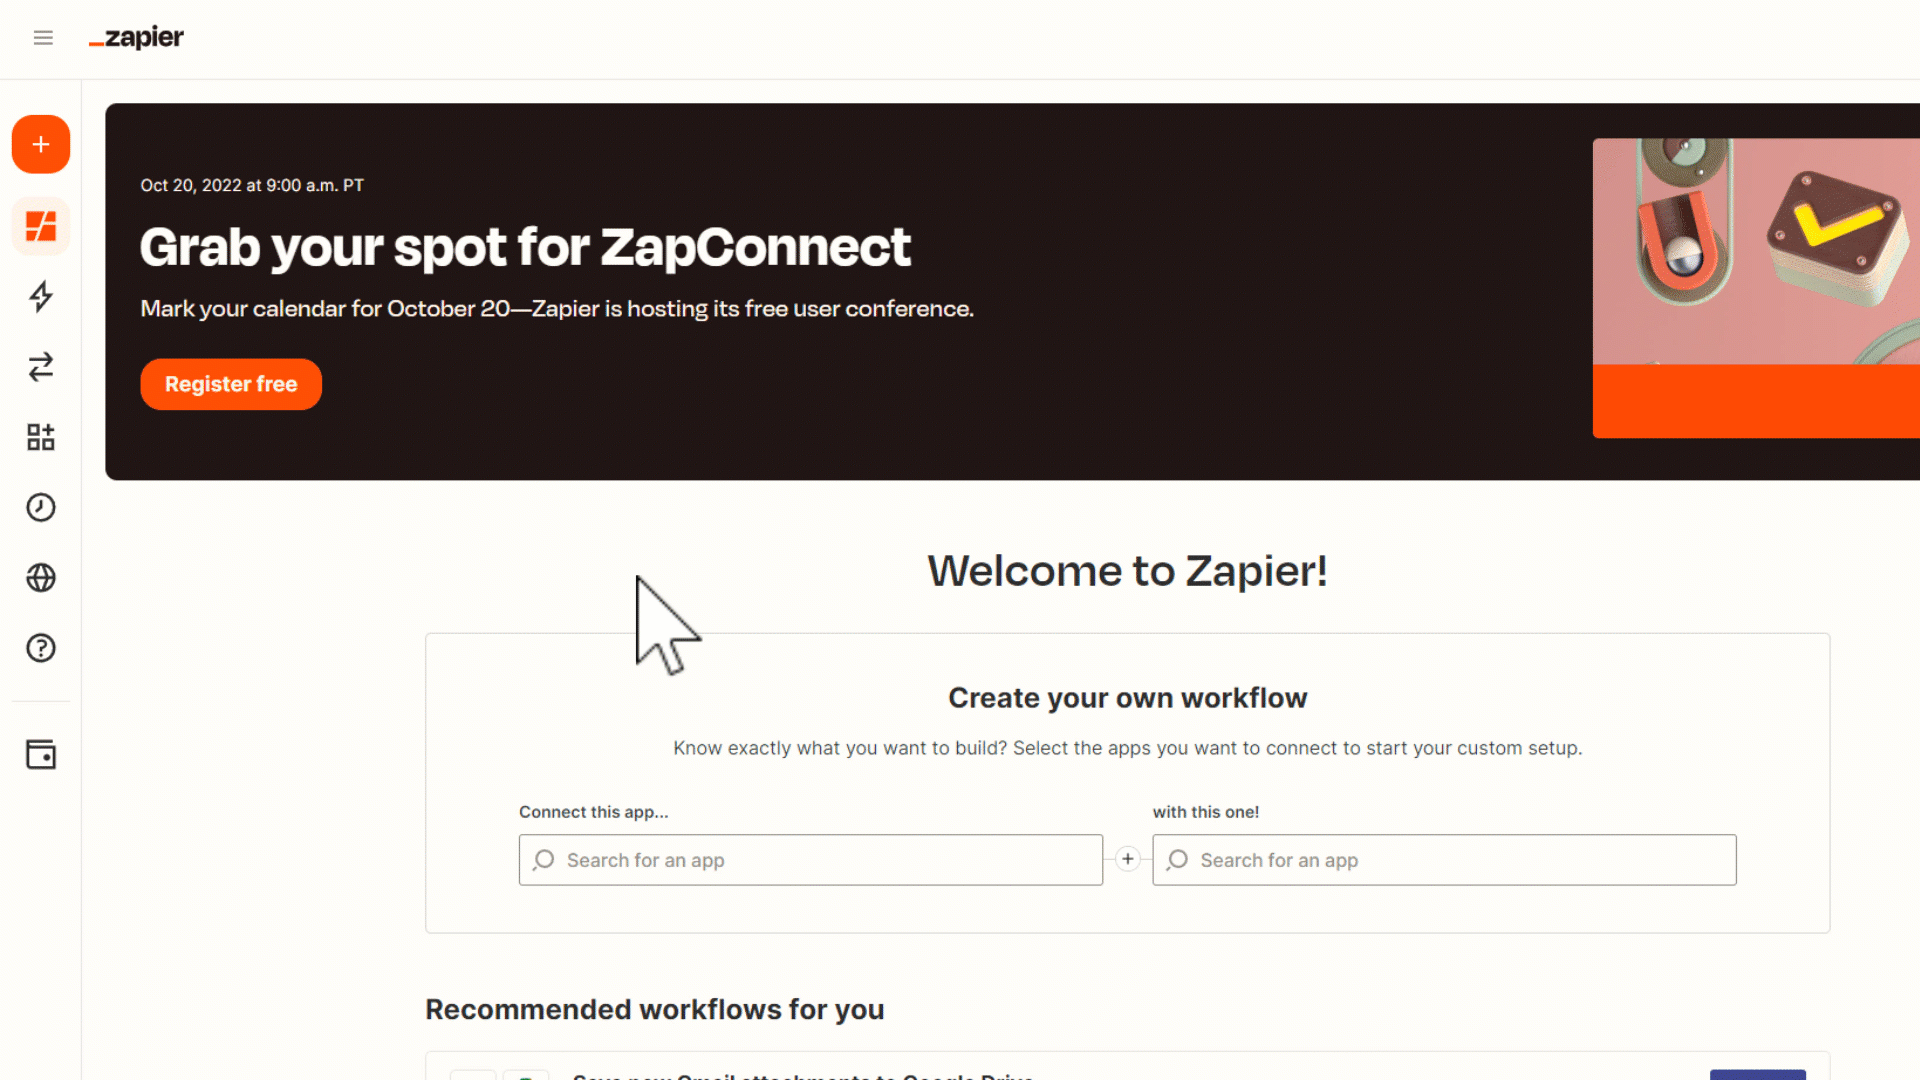
To sign up for Zapier:
- Go to Zapier.com.
- Click [Sign up] to start a free trial.
Connect Paperless Pipeline to Zapier.
To connect to Paperless Pipeline on Zapier:
- In Zapier, go to [My Apps].
- Click [+ Add connection].
- Search for and select “Paperless Pipeline.”
- From the pop-up window, log in to your master admin Pipeline account (if you aren't already), then click [Authorize Zapier]. Zapier will confirm the new connection was added.

To create a Paperless Pipeline Zap:
- In Zapier, click [+ Create Zap].
- Name your Zap. From the upper-left corner, click the pencil icon and enter a name that describes your Zap.
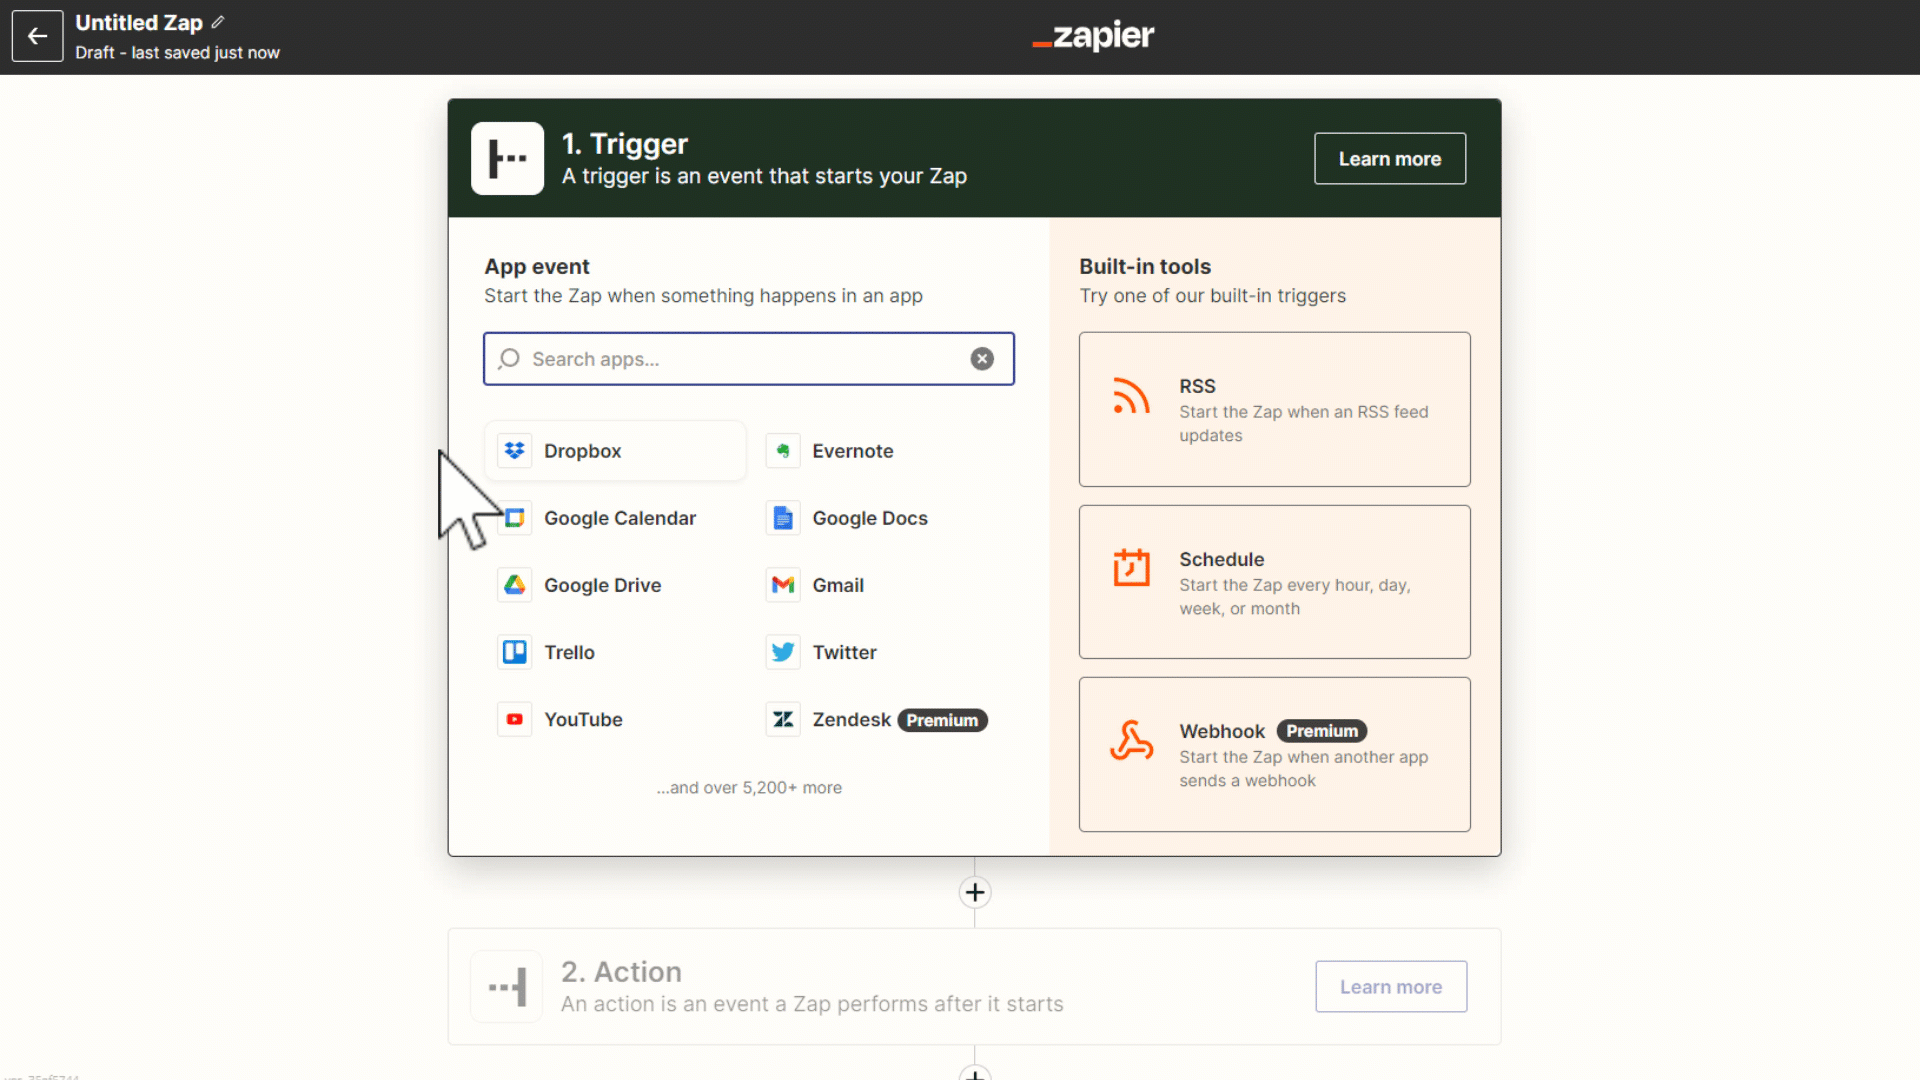


Set Up a Paperless Pipeline Trigger
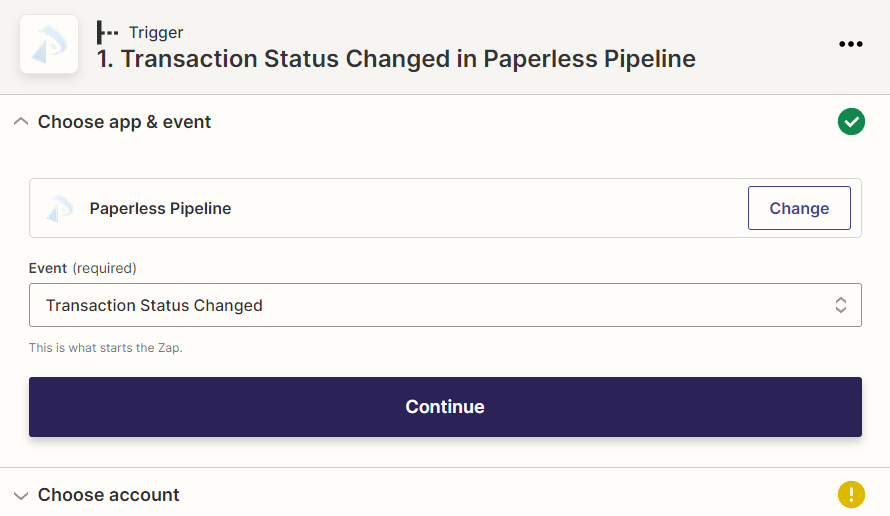
Choose app & event
- Search for and select “Paperless Pipeline.”
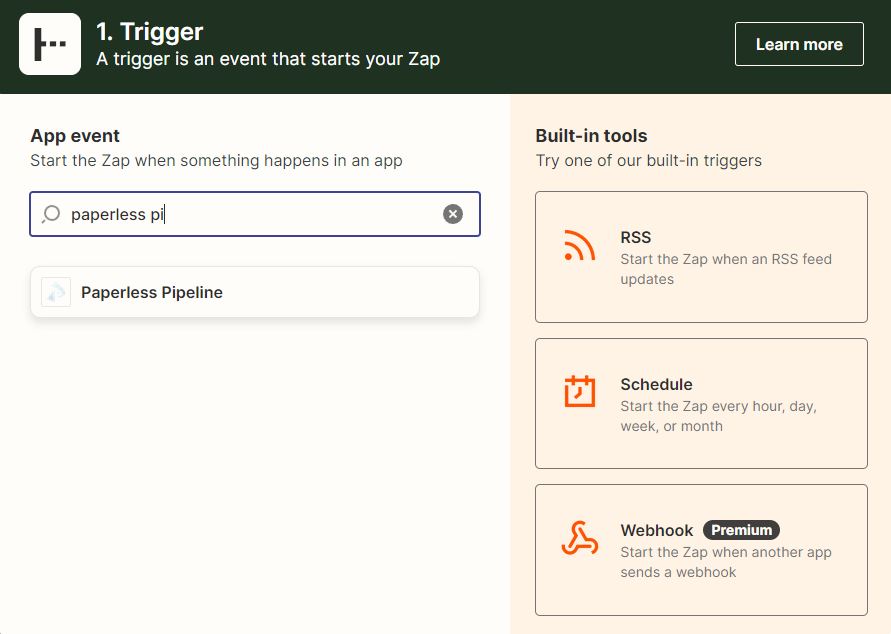
- Click “Choose an event,” and select “Transaction Status Changed.”
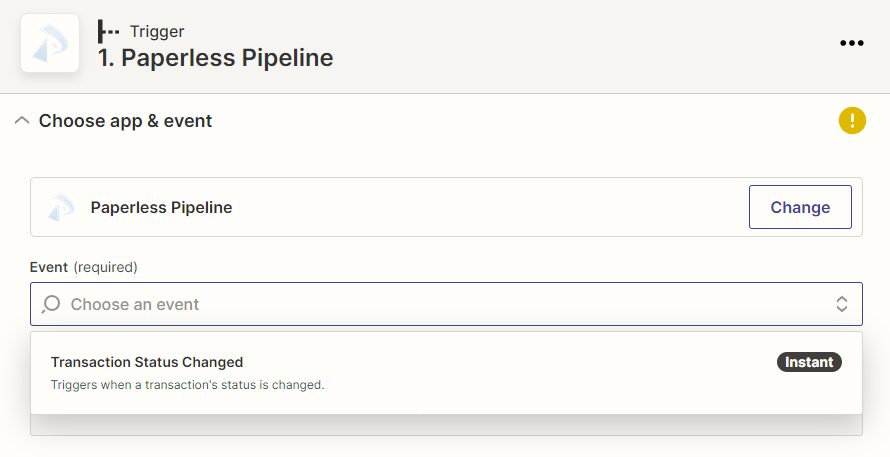
- Click [Continue].


Choose account
- Choose your Pipeline account. If you have already connected Paperless Pipeline to Zapier, click “Choose an account,” and select your Paperless Pipeline account.
If you have not connected Paperless Pipeline to Zapier, click [Sign In.] From the pop-up window, log into Pipeline and click [Authorize Zapier]. After that, the name of your Pipeline company connected to Zapier will appear as the selected account.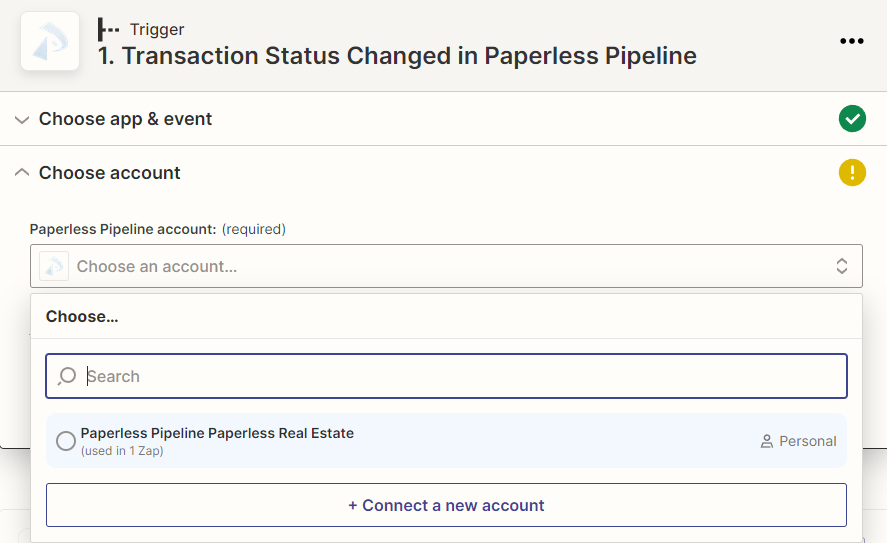
- Click [Continue].
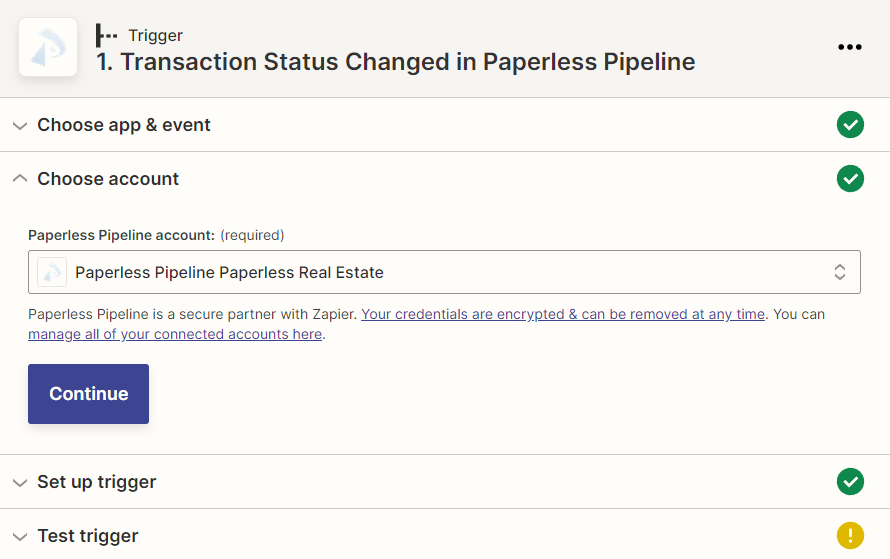


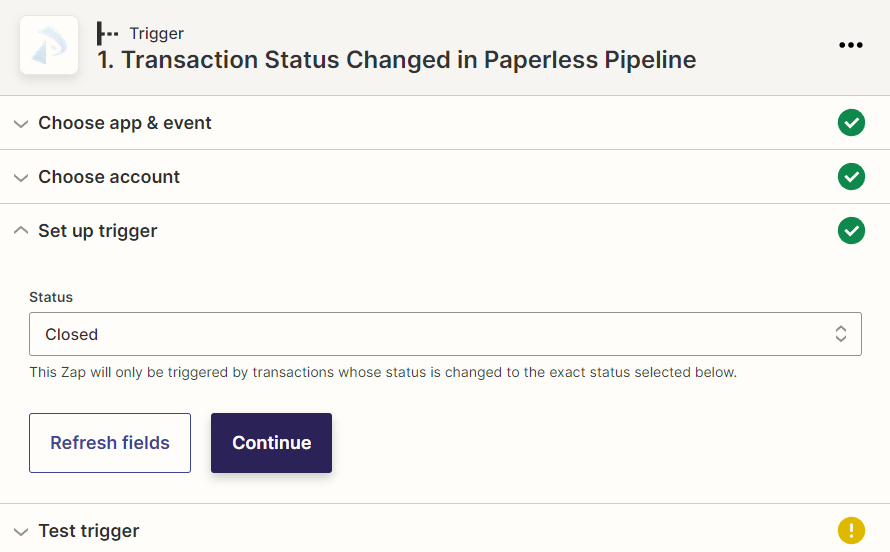
Set up trigger
- Click “Select a status,” and select your desired Transaction Status.
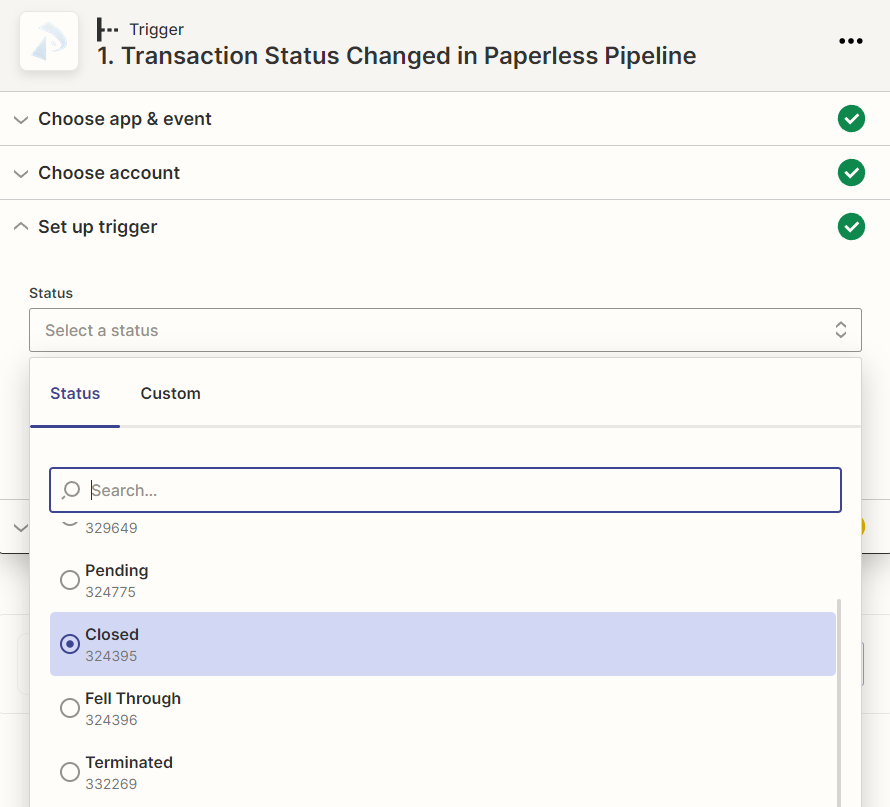
- Click [Continue].


Test trigger
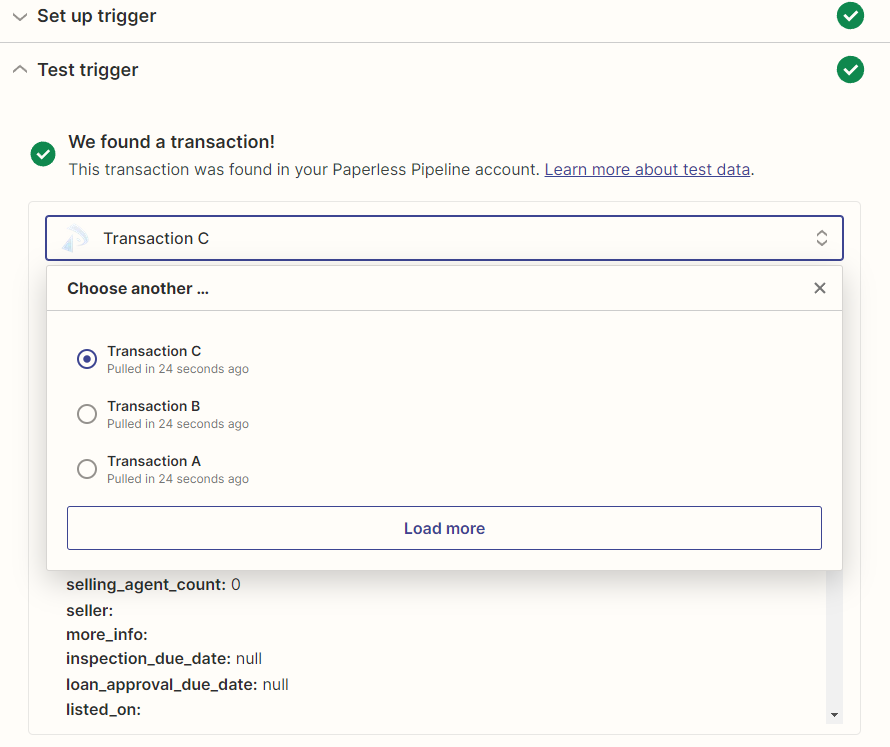
- Click [Test Trigger]. Zapier will pull in 3 sample transactions from Paperless Pipeline. By default, the latest transaction changed to the Status you set for this Zap will be displayed, “Transaction C.”
The 3 sample transactions will be the last 3 transactions that moved to the Status set for your Trigger. For example, if you chose “Pending,” the pulled samples will be transactions recently moved to your Pending Status.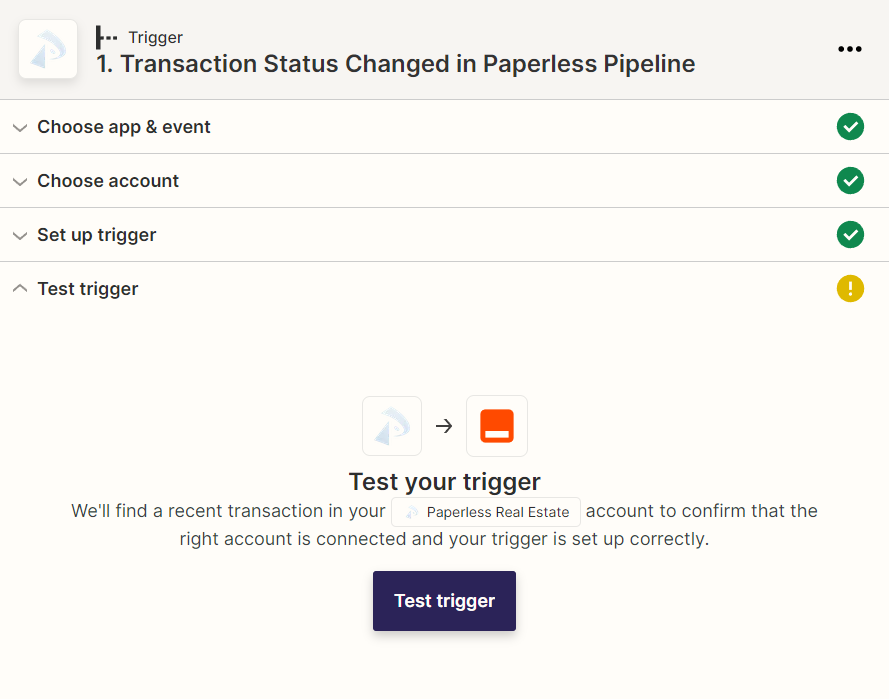
- Choose a sample transaction. To choose a different sample transaction, click “Transaction C” and select another transaction, “Transaction B” or “Transaction A.”
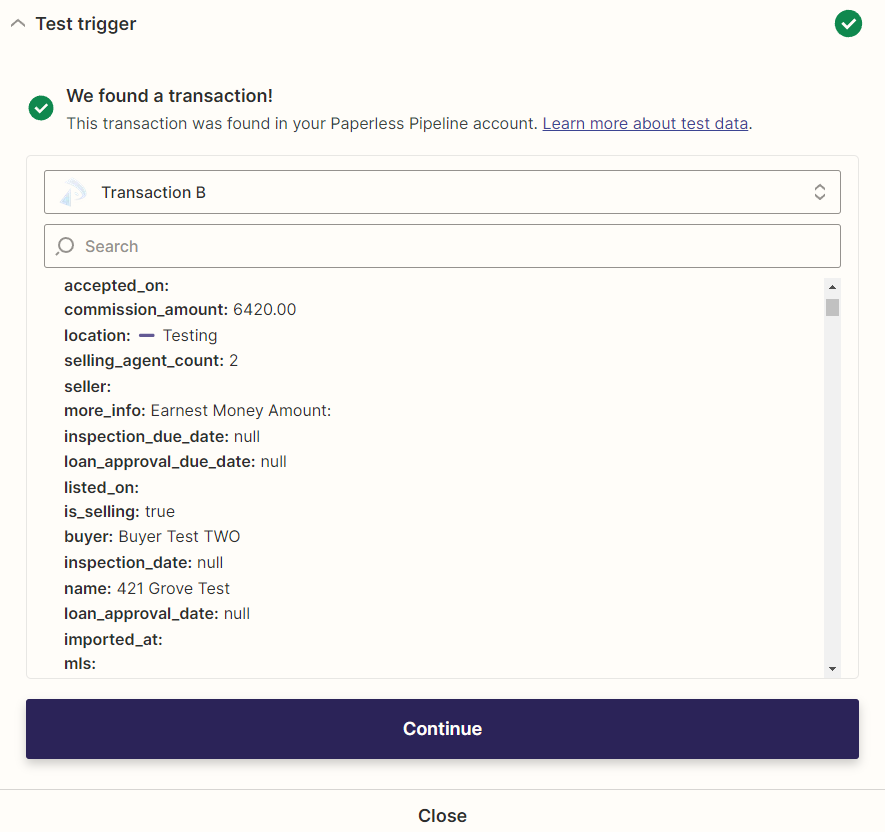
 When you're building your Zap, it’s important to work with a sample transaction that is similar to a real-life transaction you may expect to trigger the Zap.
If you prefer, you can set up a test transaction in Paperless Pipeline for building your Zap. As long as you delete it before your next bill, it won’t count against your monthly quota. - Click [Continue].


Set Up a Filter Step (Optional)
Filters are optional. A filter step should be added at some point after your Paperless Pipeline Trigger but before the Actions where you're wanting to happen.
To add a filter step:
- Click the [+] between your desired steps.
- Select [Filter] from Zapier's Built-in tool options.

Filter setup & testing
- Set your desired rules for the Filter.
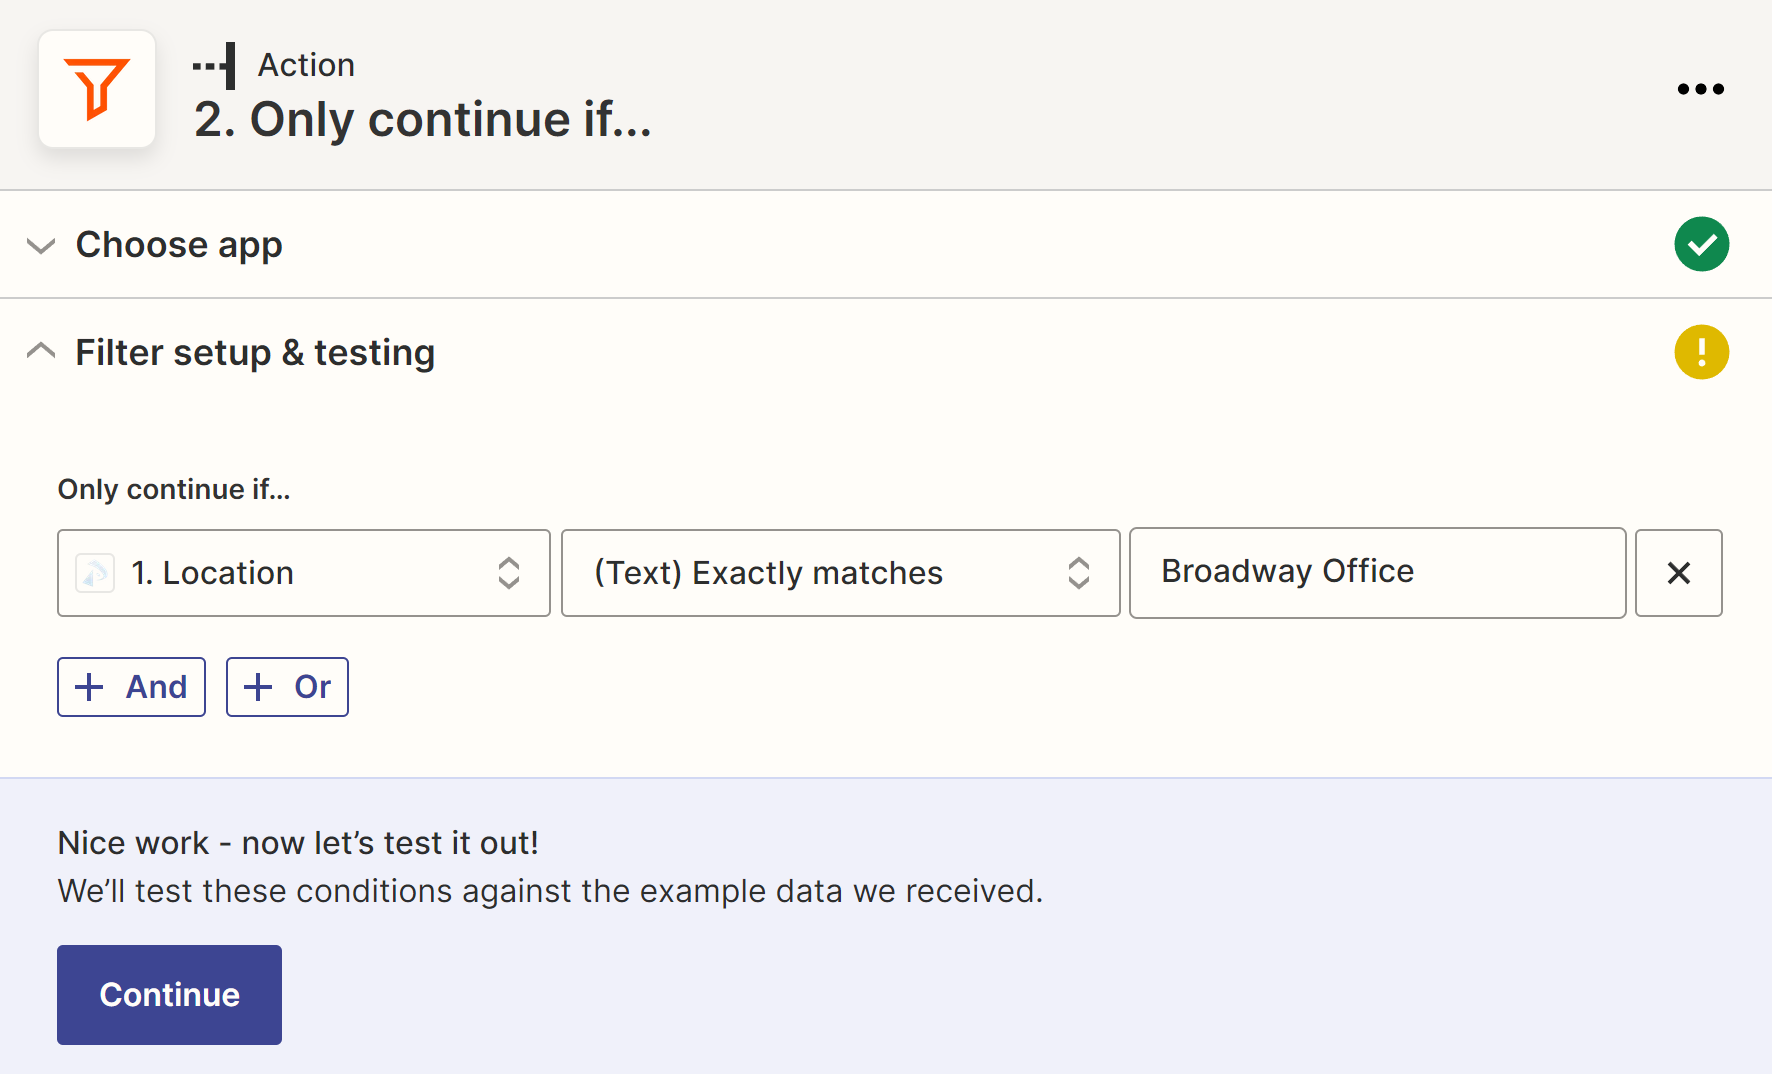
- Click [Continue].

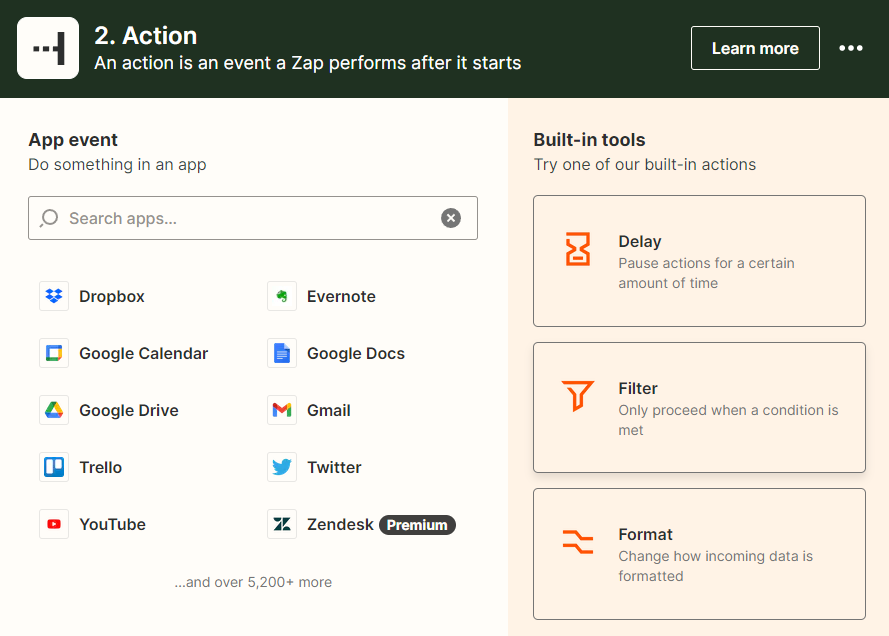
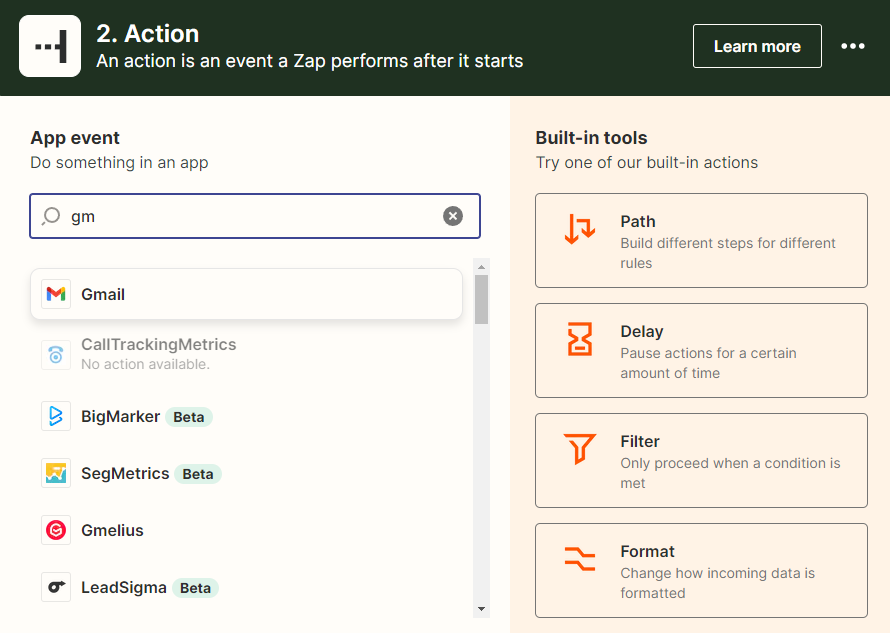
Set Up an Action for Another App
To set up an action for another app:
- Click the [+] between your desired steps.
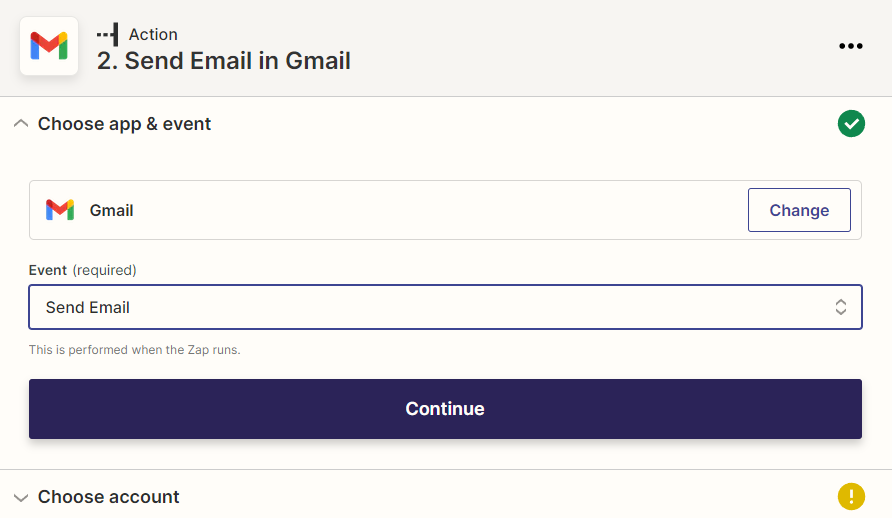
Choose app & event
- Search for and select your desired app.
- Click “Choose an event,” and select your desired action.
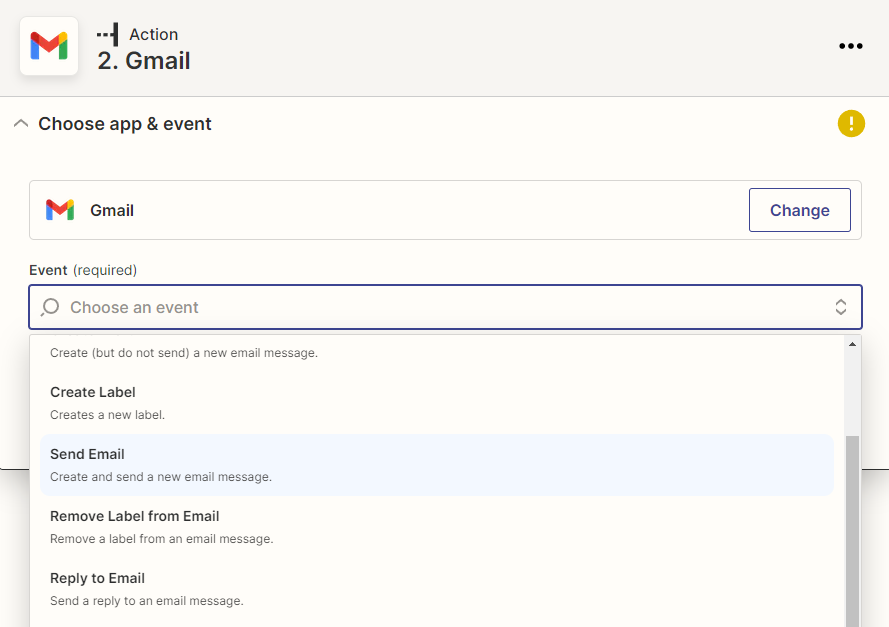
- Click [Continue].


Choose account
- Connect to and choose your account for the application.
- Click [Continue.]
Set up action
- Set up your desired information.
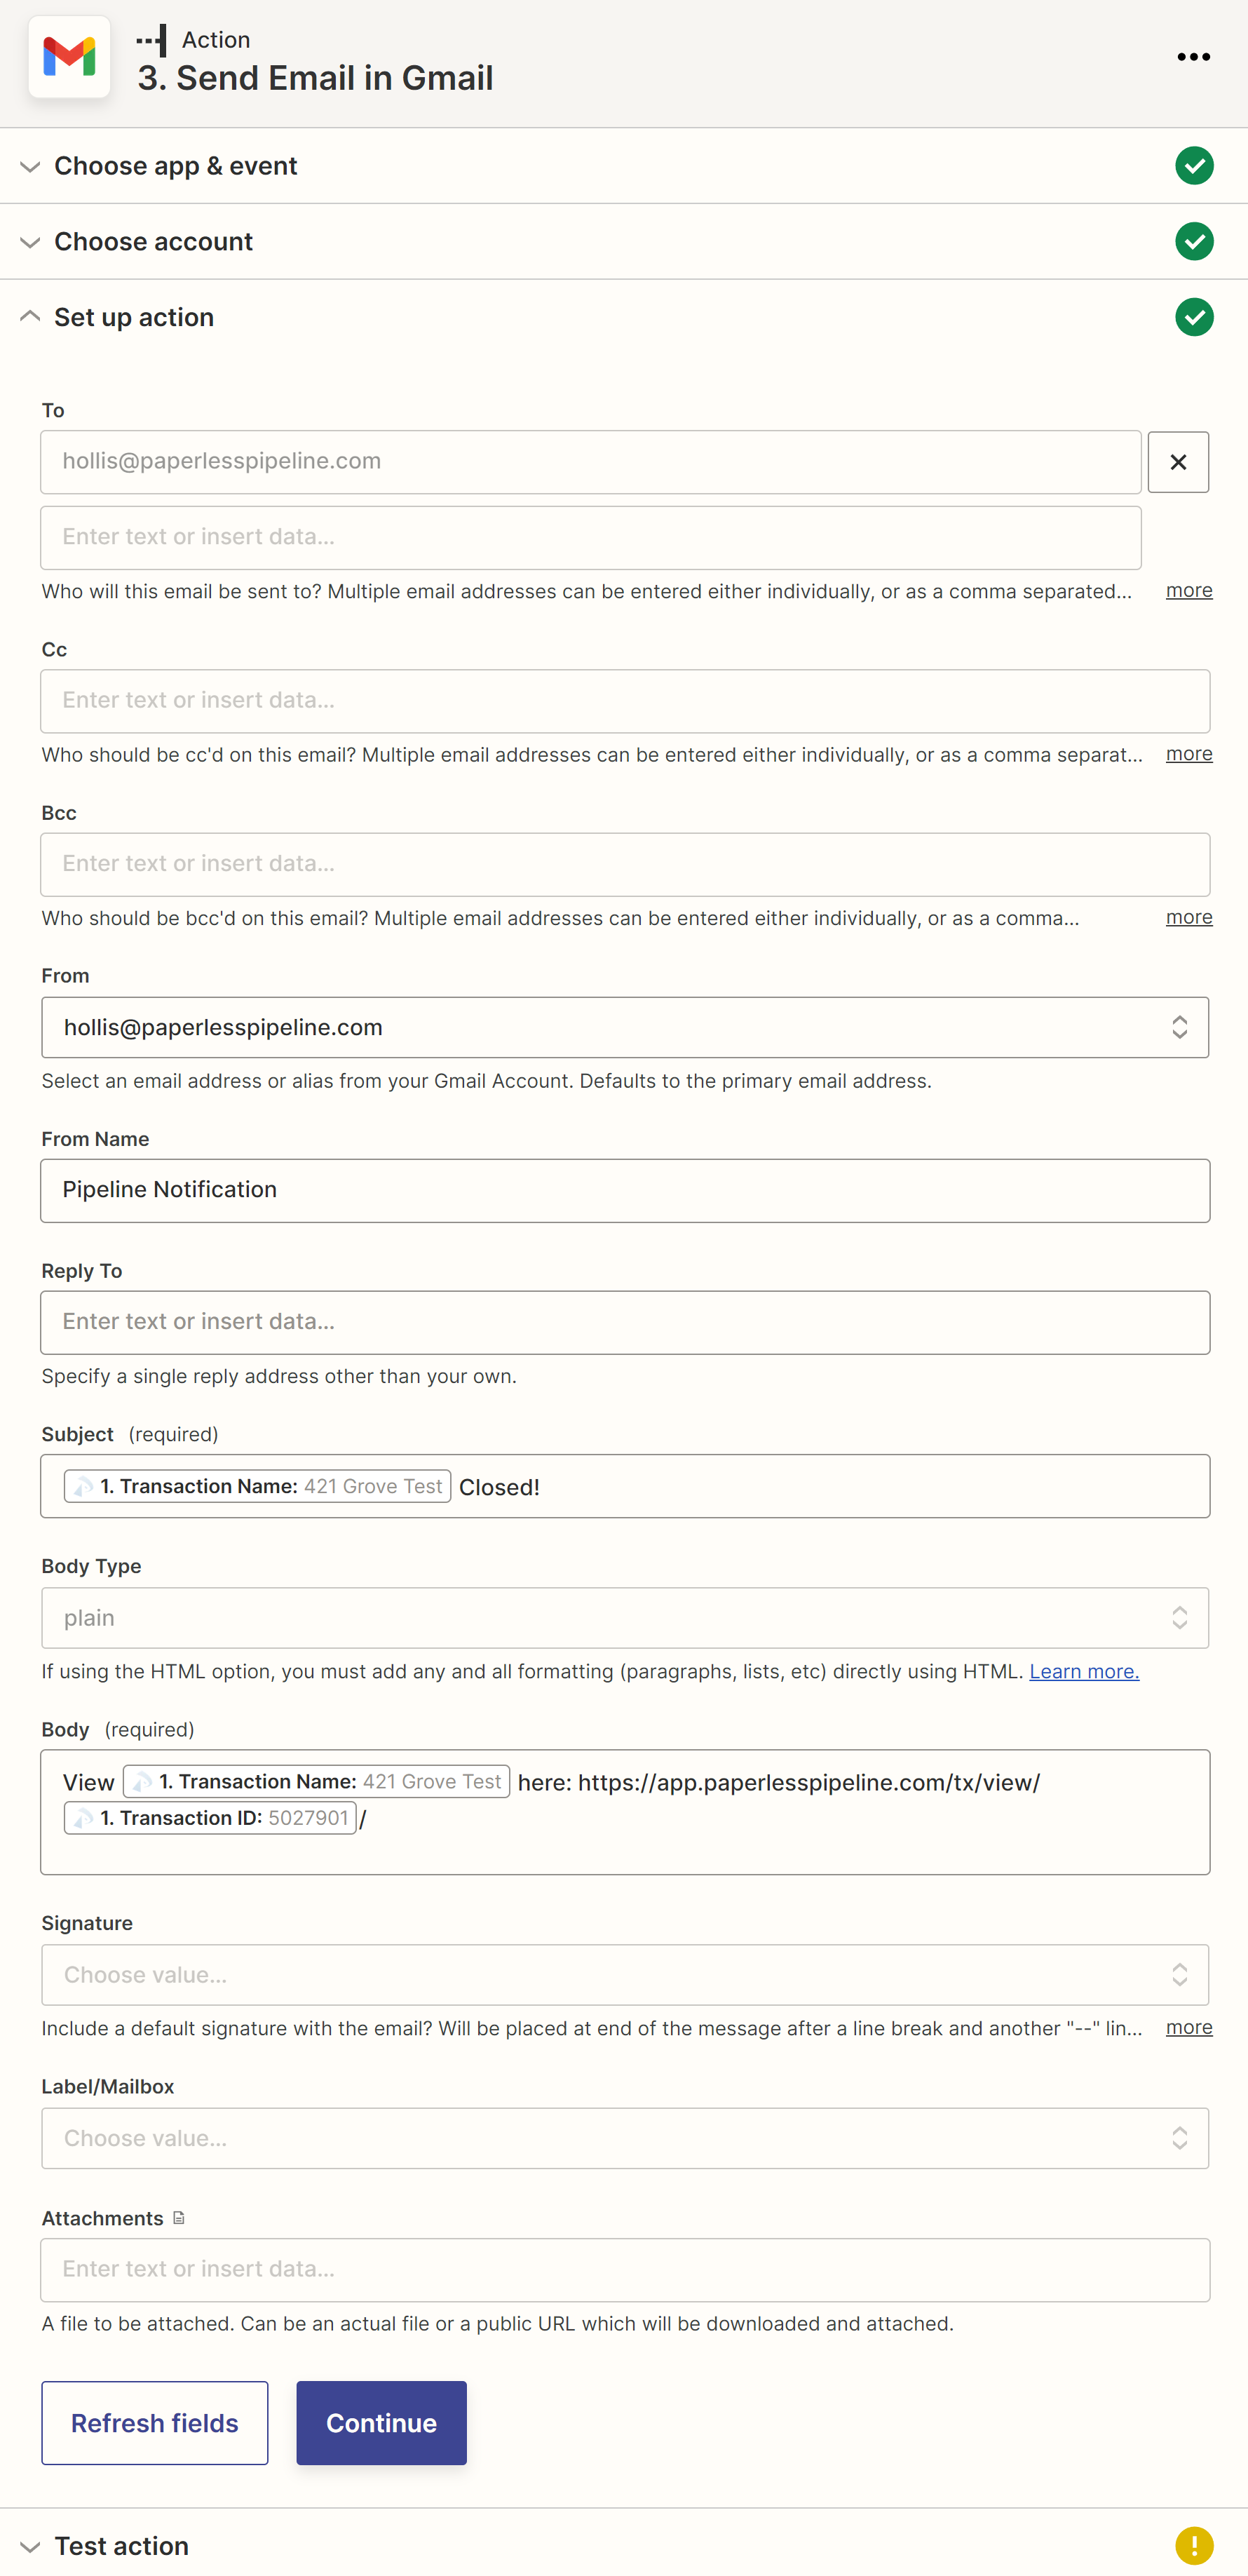
- Once your desired information is entered, click [Continue.]

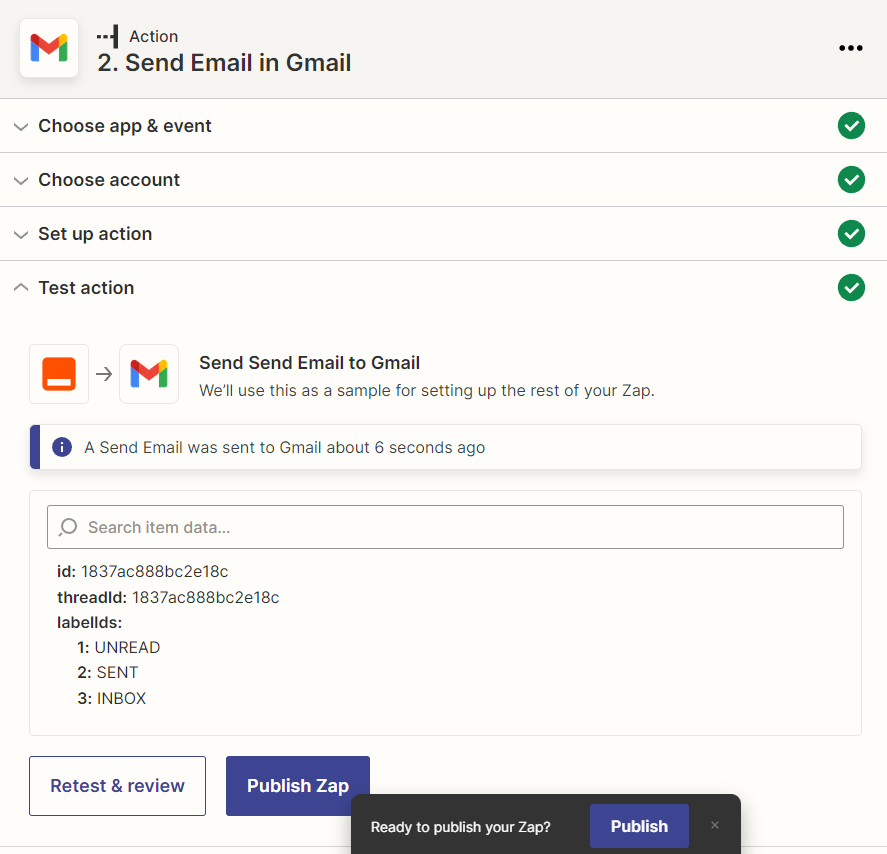
Test action
- Click [Test & Review] to test your zap and view the results.

Publish Your Zap
Publish Your Zap Now
To publish your Zap now:
- In the Zap editor, click [Publish].


Publish Your Zap Later
To publish your Zap later:
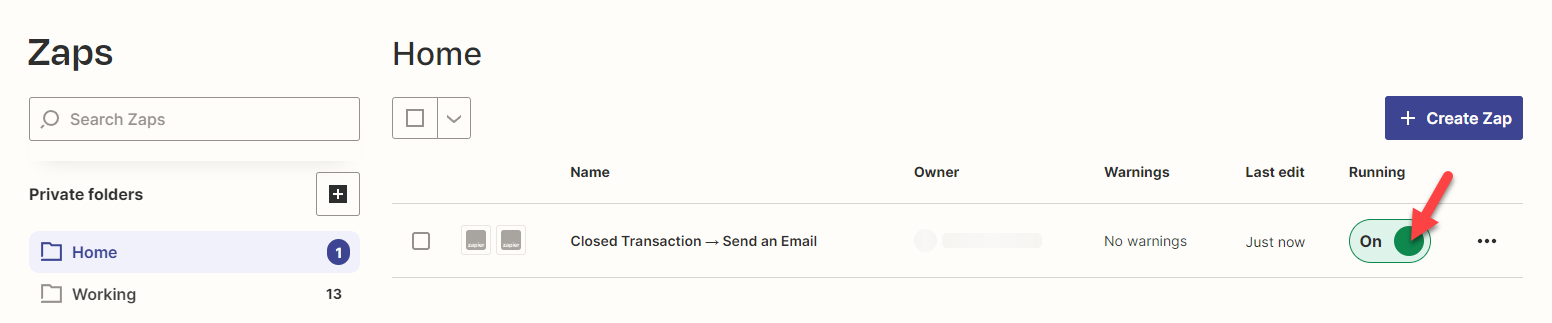
- In Zapier, go to [Zaps].
- Toggle the Zap's Running button from "Off" to "On."

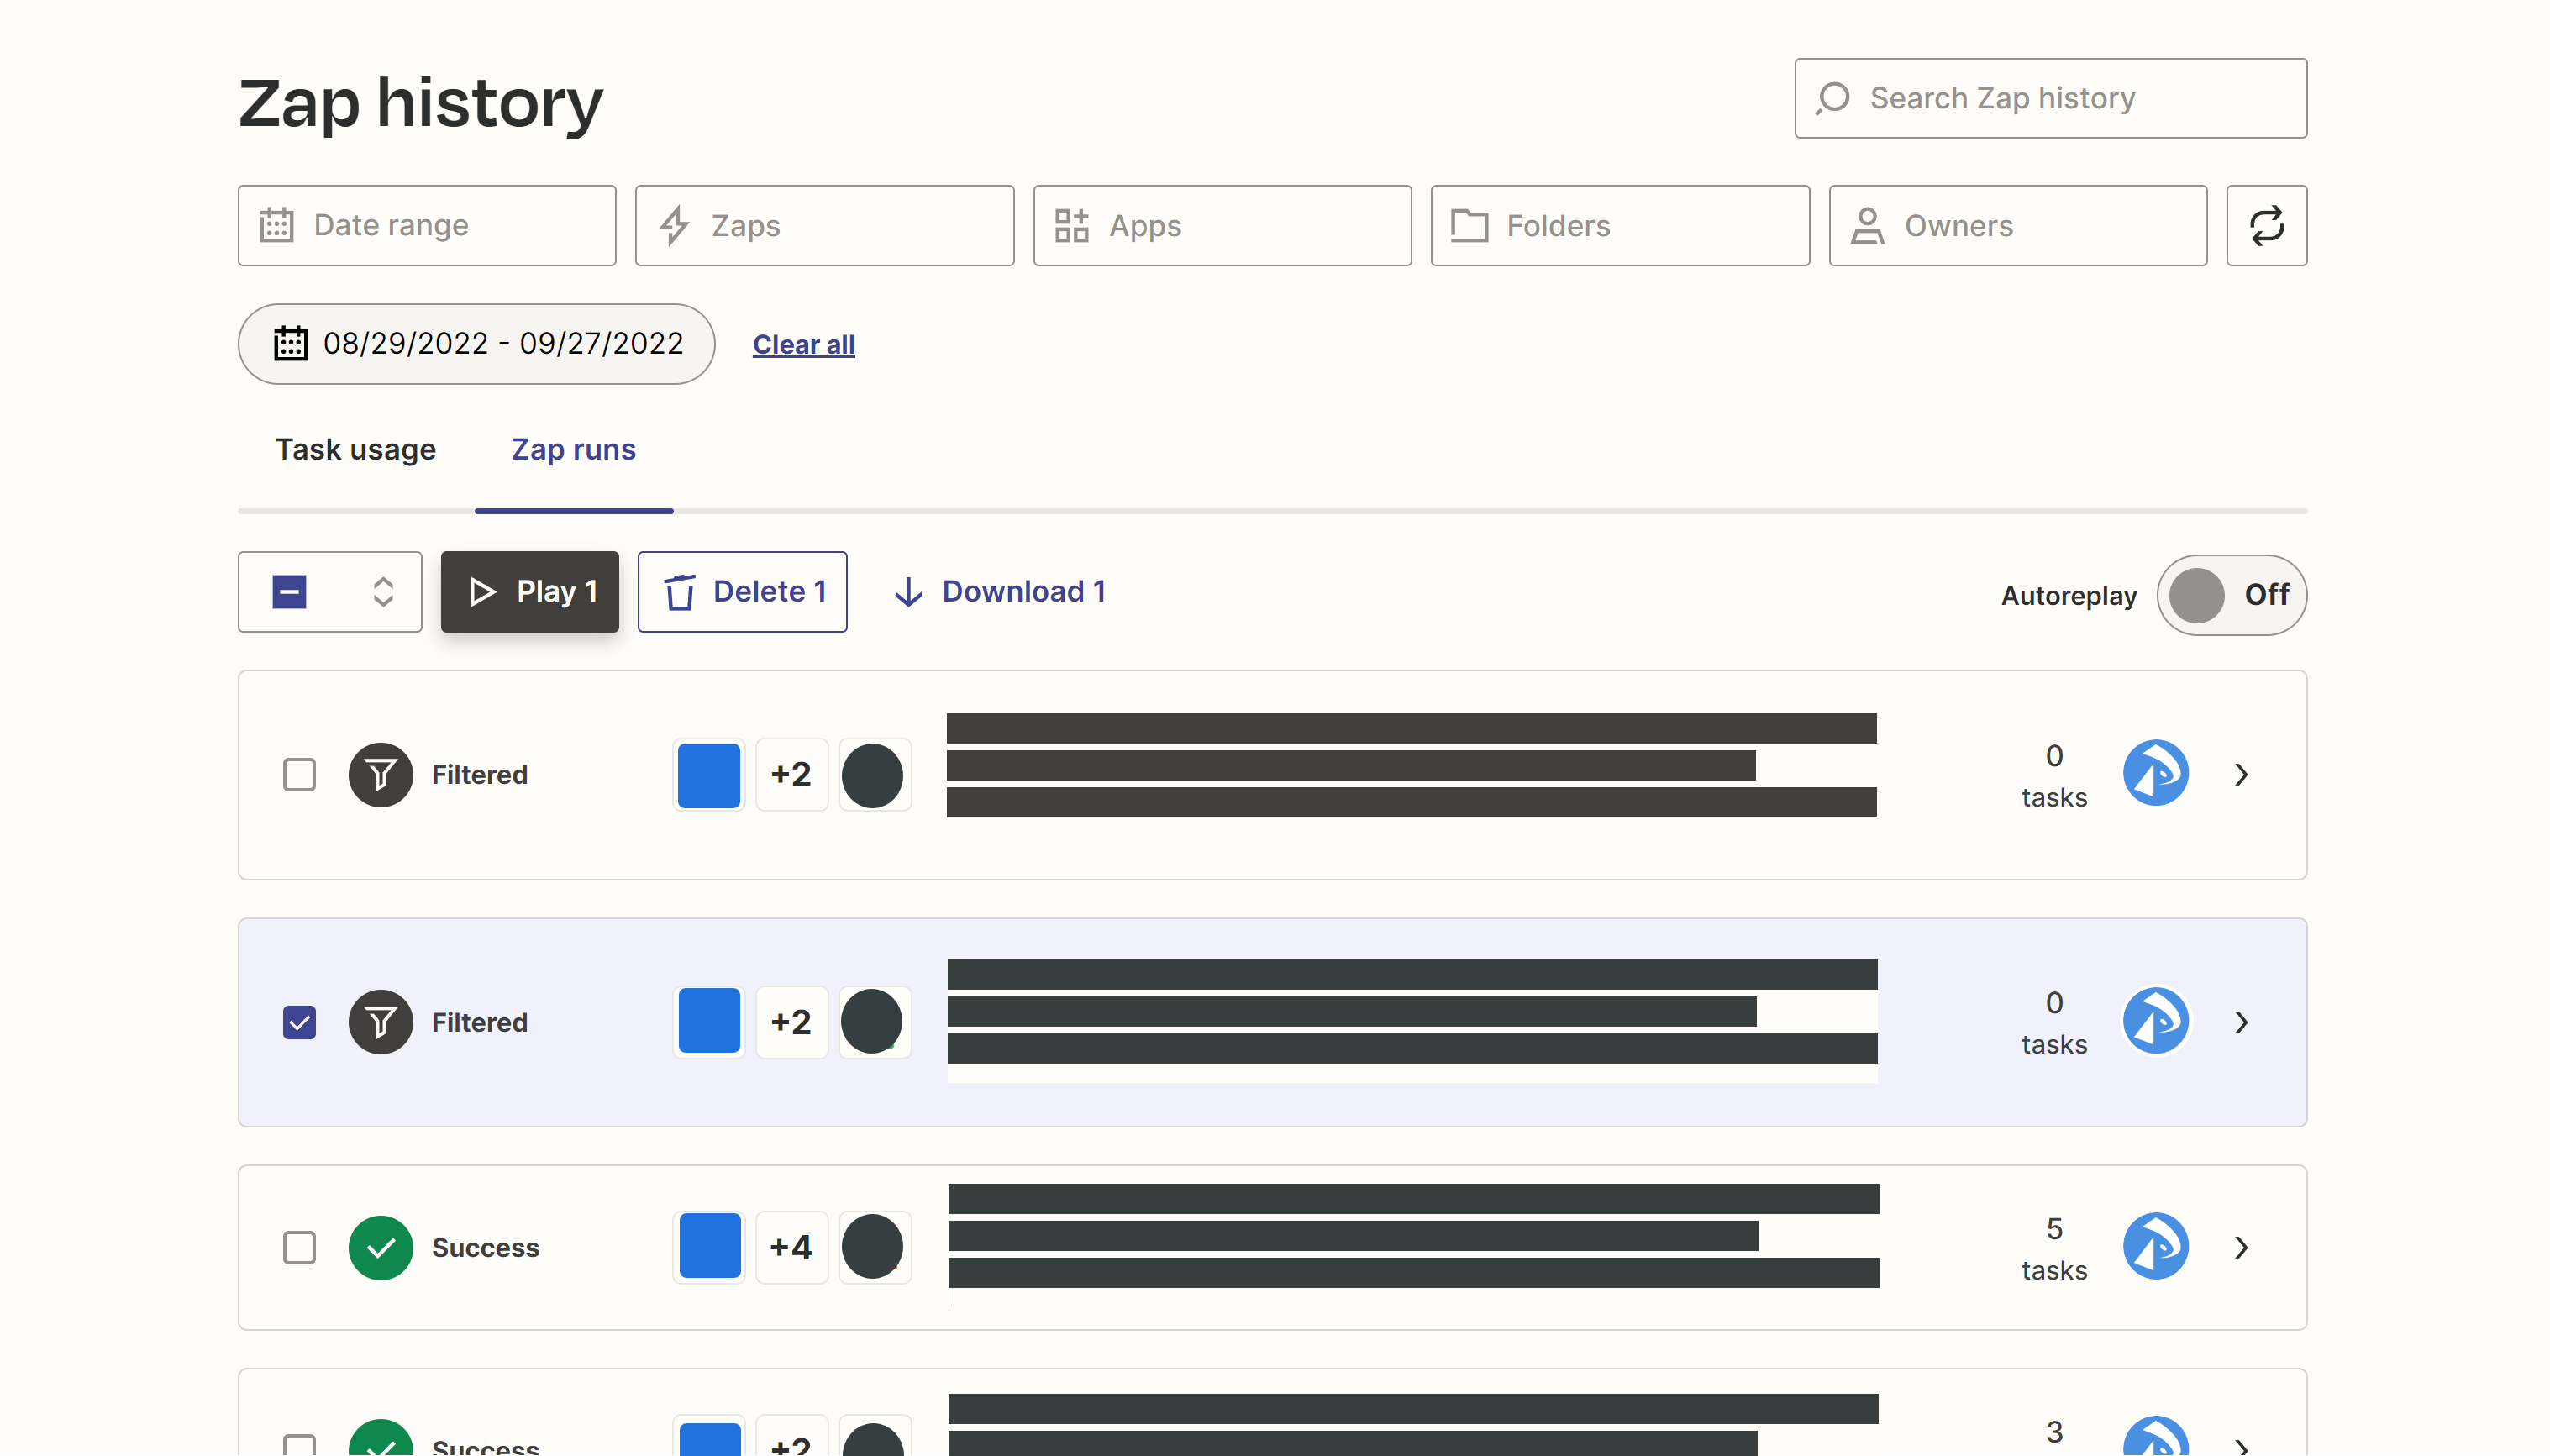
View Your Zap History
If a Zap fails to run, you'll receive a notification via email (as long as you keep that notification turned on in your Zapier settings). You can also view a full Zap history from within Zapier to check the status of any individual Zap.
To view your Zap History:
- In Zapier, go to [Zap History].
- Click [Zap runs] to view a list of Zaps that have ran and their status.

