Manage all the messages Paperless Pipeline has automatically generated and queued for you. From one place, you can preview, edit, send, and more.
The Scheduled Messages Queue collects all messages that Pipeline generates from the rules you set. These rules can be tied to transaction dates or checklist tasks. When the condition is met, Pipeline creates the message for you.
This saves time and prevents mistakes, but you still have the final say. You can preview, edit, send, or delete each message before it goes out.
For communication inside your team, this helps keep everyone aligned on transaction milestones and progress without constant manual updates. For communication outside your team, such as with clients, vendors, or cooperating agents, it ensures timely, professional follow-ups that strengthen trust and reduce missed details.
Automation does the heavy lifting. You stay in charge of the final step.
Automatic Queuing
When you schedule a message template, you choose the trigger, such as a transaction date or a checklist task. Pipeline monitors your transactions in the background.
Each time a trigger is met, Pipeline generates a message and places it in your queue. You don’t need to remember dates or chase down tasks.
Managing Your Queue
When a message is generated, you get an email and a home page alert. From the queue, you can see all scheduled messages in one list.
At that point you choose what to do:
- Preview the message to check it.
- Edit the subject, body, or recipients.
- Delete it if it’s no longer needed.
- Send it right away if it’s ready.
Staying in Control
The Scheduled Messages Queue gives you the best of both worlds. Automation ensures that important communications are generated on time, while the queue provides oversight so you always have the final say before anything is sent. This balance keeps your workflow efficient without sacrificing accuracy or professionalism.
View your Scheduled Messages Queue to access all automatically generated messages waiting for review, preview, edits, or sending, keeping your communication accurate and timely.
Who Can Do This: Anyone.
To viewyour Scheduled Messages Queue:
- Go to My Info
- Click your name in the upper right corner, then [My Info].
- Open Your Scheduled Messages
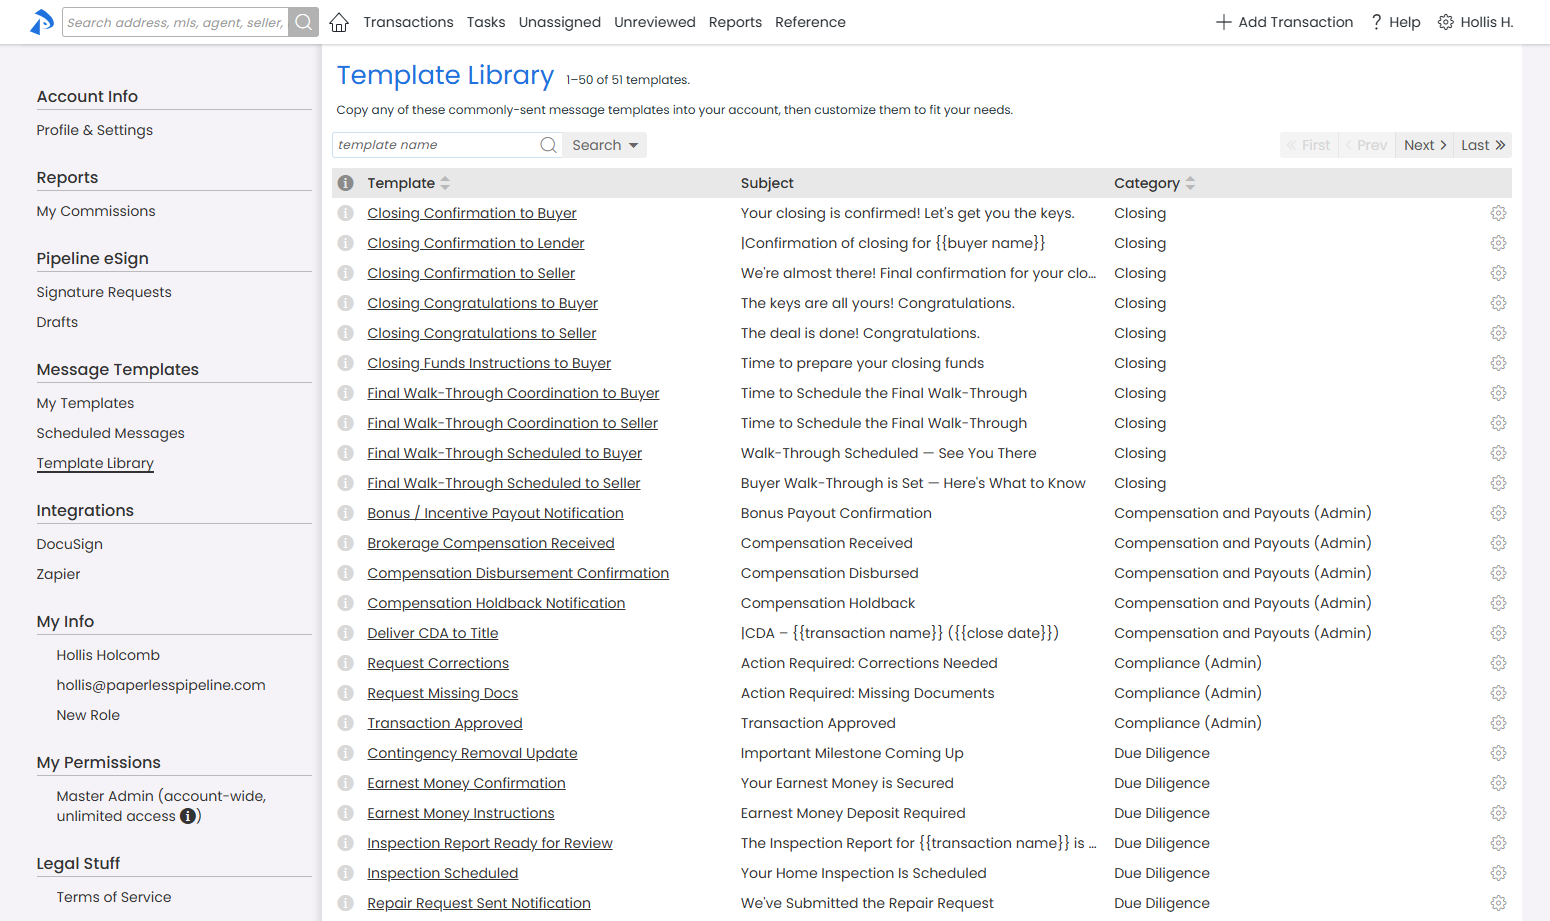
- Click [Scheduled Messages] from the Message Templates section of the left menu.
- See Your Scheduled Messages
- You'll see a list of scheduled messages awaiting your review.
- You'll see a list of scheduled messages awaiting your review.

View messages that have been automatically generated and are awaiting your review before being sent.
Who Can Do This: Anyone.
To view a scheduled message:
- Choose a Message to View
- View your Scheduled Messages queue to find the message you want to preview.
- View the Message
- Click the message name. A preview window will display the complete message along with any errors found.
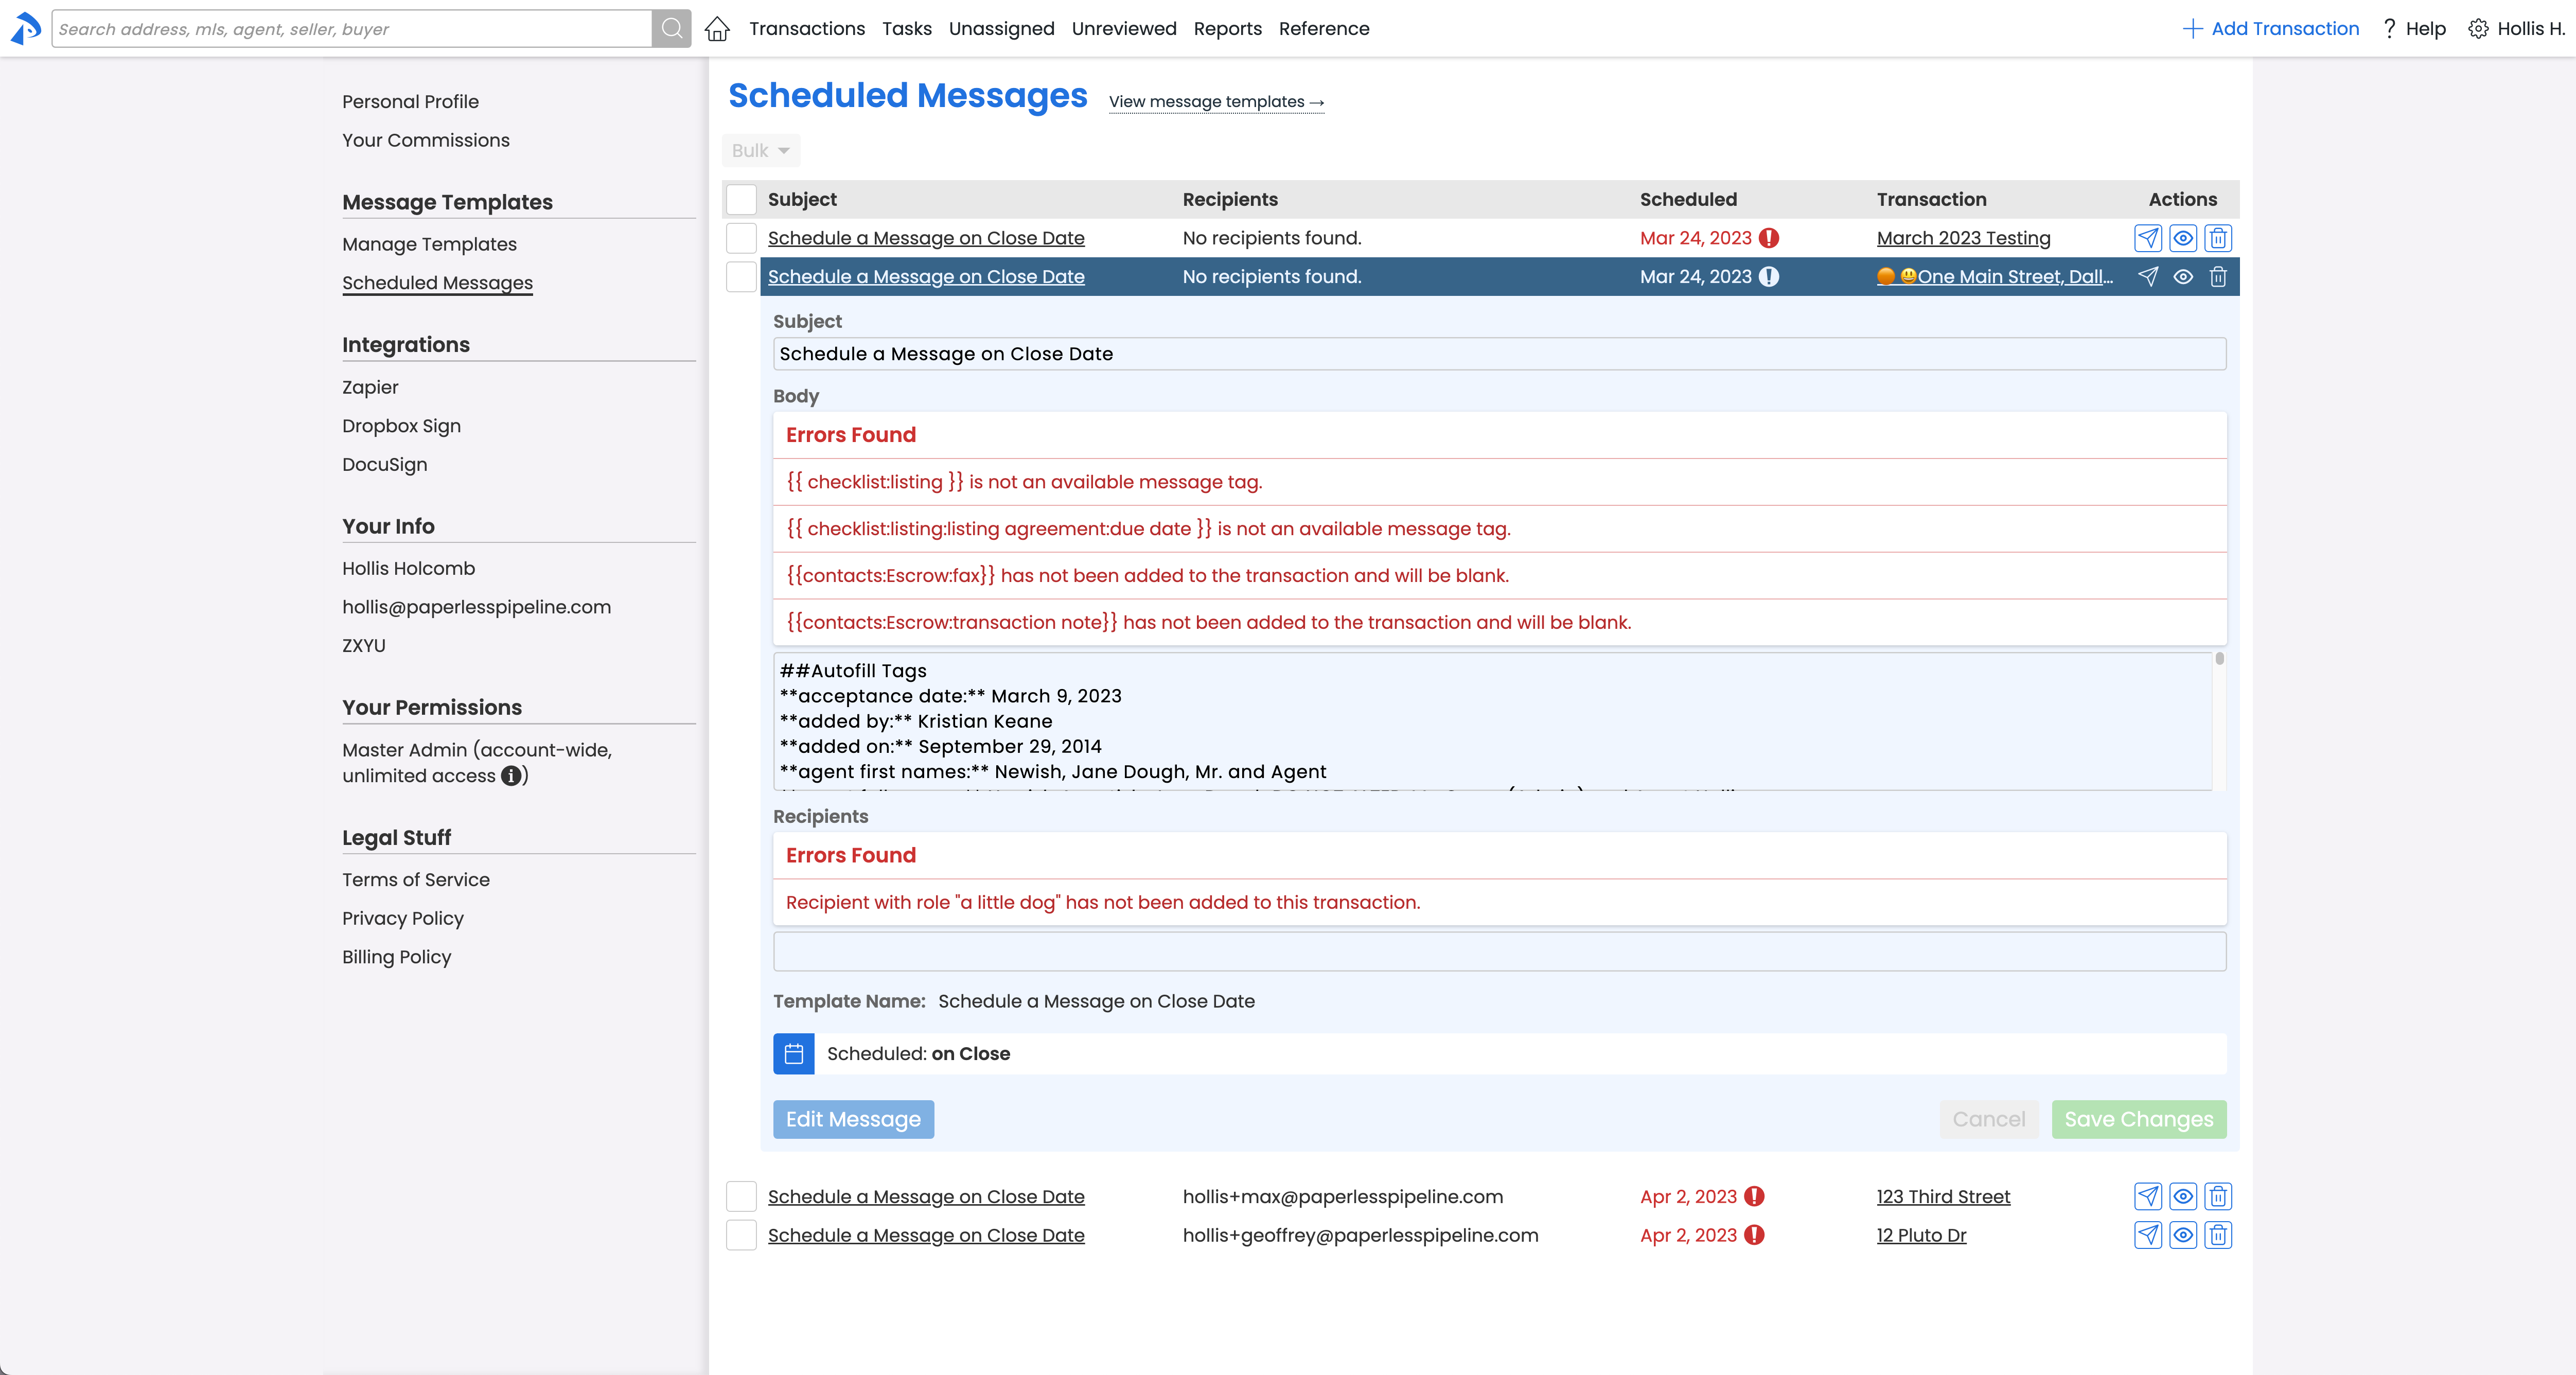
- Click the message name. A preview window will display the complete message along with any errors found.

Edit an automatically generated message to make changes to the subject, content, or recipients before sending.
Who Can Do This: Anyone.
To edit a scheduled message:
- Choose a Message to Edit
- View your Scheduled Messages queue to find the message you want to make changes to.
- Edit the Message
- Click [Edit Message] at the bottom of the preview window.
- Make your desired changes to the Subject, Message Body and / or Recipients.
- Save Changes
- Click [Save Changes].
Delete messages that have been automatically generated to remove them from your queue and prevent them from being sent.
Who Can Do This: Anyone.
To delete a scheduled message:
- Choose the Message to Delete
- View your Scheduled Messages queue to find the message you want to delete.
- Delete the Message
- Click [Trash] next to the message you want to delete.

- Click [Trash] next to the message you want to delete.

Send a message that has been automatically generated once you’ve reviewed and approved their content.
Who Can Do This: Anyone.
To send a scheduled message:
- Choose the Message to Send
- View your Scheduled Messages queue to find the message you want to send.
- Send the Message
- Click the name of the message you want to send to expand it and review its contents.
- Click [Send] next to the message you want to send.

