The Reference Library is a shared space for storing your company's most used documents and links. It gives your team quick, reliable access to the information and resources they use every day.
The Reference Library is your team’s go-to spot for frequently used forms, disclosures, training materials, and other essential documents and links. It keeps everything your agents and admins rely on in one organized, easy-to-access place.
Once it's set up, the Reference Library is always within reach. Your team can access it from the main Reference page or directly within transactions, so whether they're prepping for a deal or in the middle of one, the right docs are never more than a few clicks away.
Admins manage the library behind the scenes. You can upload docs, add links, group items into categories, rename or update files, and remove anything that's no longer needed to keep your library clean, current, and useful.
Admins Create the Library
Admins add documents and links, group them into categories, and keep everything organized and up to date. Each item can be named, categorized, and commented on to provide helpful context.
Admins can make changes to items as needed. When an item is no longer relevant, it can be removed to keep the library clean and focused.
Instantly Accessible
Once added, reference items are instantly available in two places:
- Reference Page: View, download, and email from one centralized spot.
- Transactions: Access reference docs directly within any transaction.
Searchable & Shareable
Team members can search, preview, and download reference items anytime. When needed, they can quickly email a reference to a client or teammate, even directly from a transaction.
Add a document or link to your company’s Reference Library to give your team fast, organized access to the resources they rely on.
Who Can Do This: Admins.
To add a Reference doc or link:
- Go to Reference
- Click [Reference] from the top menu.
- Choose What to Add
- To upload docs, click [+ Add Docs].
- To add links, click [+ Add Link].
- Add & Name Your Reference
- Docs:
Drag files into the blue upload box, or click the box to select files from your computer.
Then, enter a Doc Name for each file.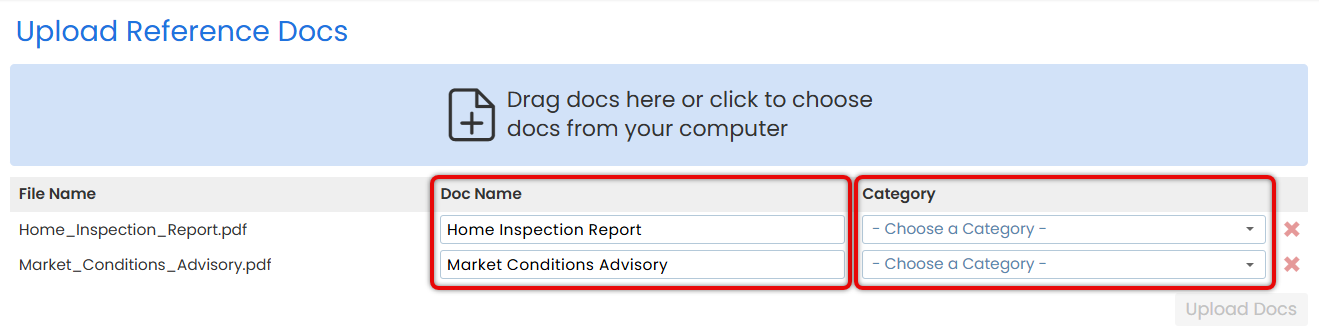
- Links:
Enter a Link Name, then paste the Link URL.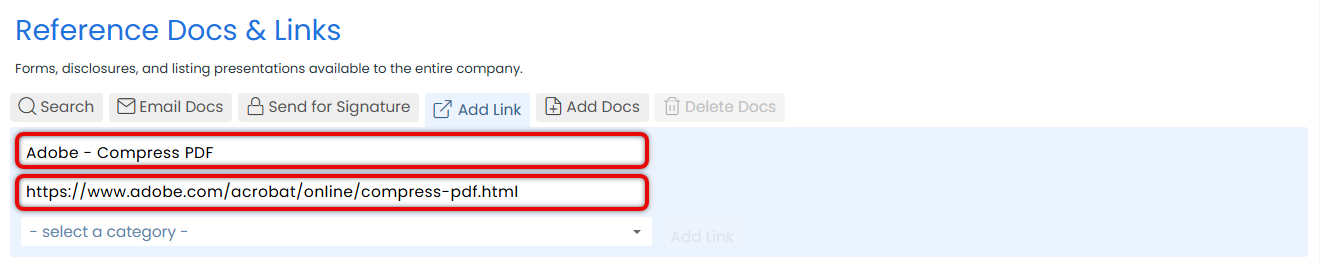
- Docs:
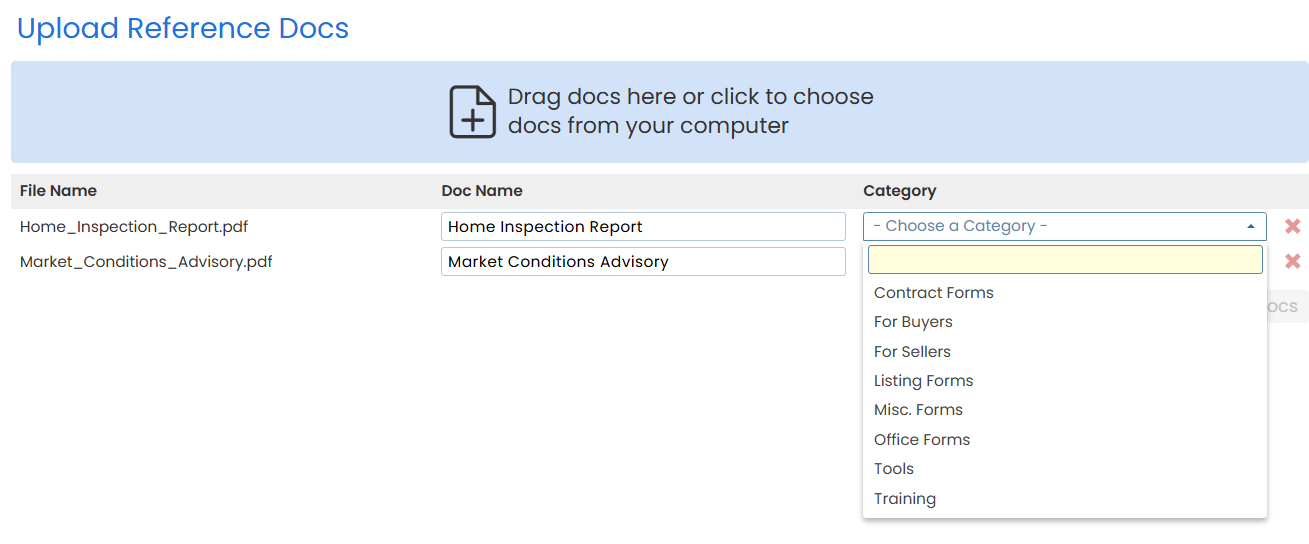
- Categorize the Reference
- From the Category dropdown, select an existing category or enter a new one.
- From the Category dropdown, select an existing category or enter a new one.
- Save the Reference
- To save docs, click [Upload Docs].
- To save links, click [Add Link].
- Once saved, your team can view, download, and email the items from your Reference Library.


Add a comment to a doc or link in your Reference Library to provide your team with valuable context, guidance, or next steps.
Who Can Do This: Admins.
To comment on a Reference item:
- Go to Reference
- Click [Reference] from the top menu.
- Select the Reference
- Click [
 ] next to the doc or link you want to make a comment on.
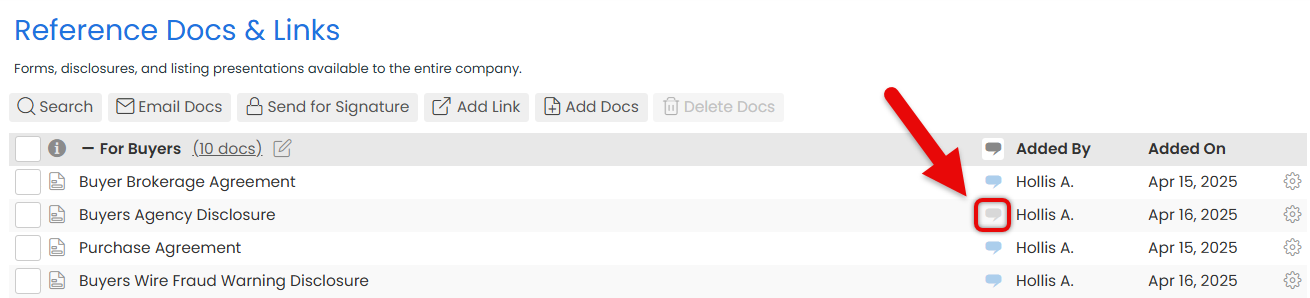
- Click [
- Add or Edit a Comment
- To add a new comment, enter it in the yellow comment box.
- To update an existing comment, click [
 ] to the right of the comment, then make your changes.
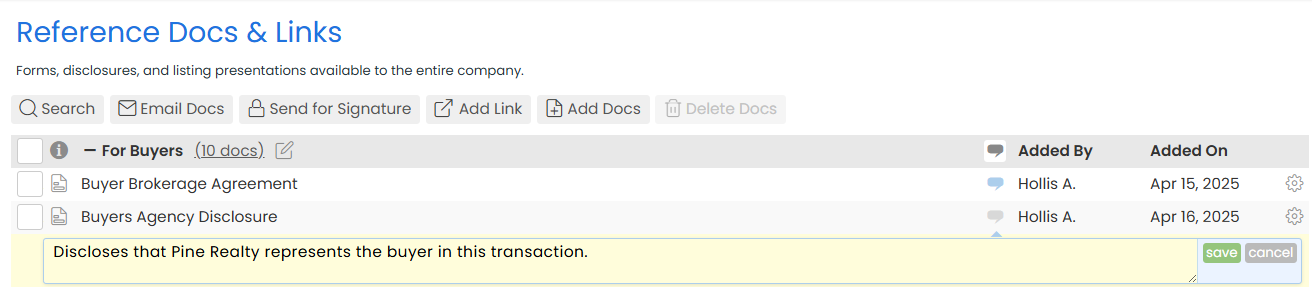
- Save Your Comment
- Click [Save]. Once saved, your team can view the comment from your Reference Library.


Update an item in your Reference Library to rename or move it to a different category, keeping your shared resources accurate and easy to find.
Who Can Do This: Admins.
To make changes to a Reference item:
- Go to Reference
- Click [Reference] from the top menu.
- Choose What to Edit
- Find the doc or link you want to edit.
- Click [
 ] next to it, then choose [Rename / Move] for a doc, or [Edit Link] for a link.

- Update Details
- Update the item's name, and if needed, change the category.
- For links, you can also update the URL.

- Save Changes
- Click [Save] to apply your changes. The Reference Library will be updated immediately.


Change the order of docs and links in a Reference category to set your preferred order.
Who Can Do This: Admins.
To change the order of reference items:
- Go to Reference
- Click [Reference] from the top menu.
- Drag and Drop Items
- Click a doc or link, then hold and drag it.
- Drop it into a new position within the same category.

Remove items from your Reference Library when they’re no longer needed.
Who Can Do This: Admins with permission to Delete any docs.
To delete an unneeded doc or link from your Reference Library:
- Go to Reference
- Click [Reference] from the top menu.
- Delete References
- Individual Item:
To delete a single item, click [] to the right of the doc or link you want to delete, then select [Delete].
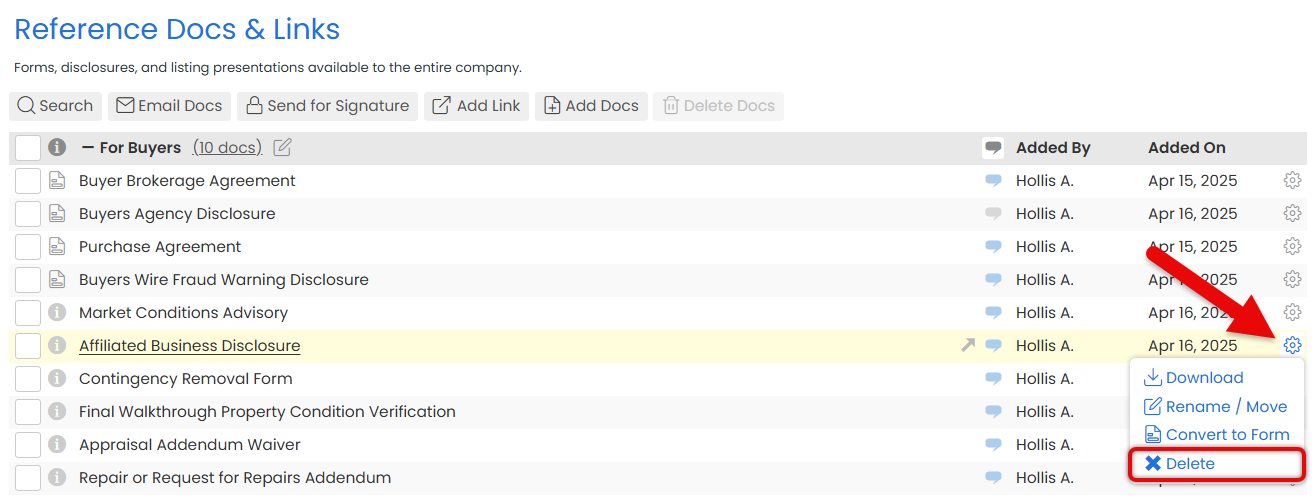
- Multiple Items:
To delete multiple items, check the boxes next to the items you want to delete, then select [Delete Docs] at the top of the page.
- Individual Item:
- Confirm Removal
- Click [Delete] again to confirm and permanently remove the selected items.


Watch this to become a Pipeline Pro on the Reference page: Whether you need to implement initial roll-out training or ongoing training for new agents, you won't want to miss this session! You'll learn how to create custom training libraries that will help you train your team on the parts of Pipeline they need to know.
Who Can Do This: Paperless Pipeline Pro Webinars are for master admins and admins with permission to View all transactions.
Watch this to become a Pipeline Pro on the Reference page: This Pipeline Pro webinar covers the various options available on the Reference page as well as how to best utilize them.
Who Can Do This: Paperless Pipeline Pro Webinars are for master admins and admins with permission to View all transactions.
View your Reference Library, search items by name, download what you need, or email docs and links to clients and teammates, all in just a few clicks.
Learn how to Use Your Reference Library